Let’s have a look at a few points, tips and tricks
Do you love stenciling as much as I do?
I love using stencils for their versatility, be it so called normal stenciling or raised stenciling. I think that sometimes they just make THAT difference on a piece. I own a ton and when I say a ton I mean a ton. I bought myself 2 big art folders with presentation clear sleeves in different sizes.
They aren’t cheap but oh how practical. Each section/sleeve has a name such as “BOHO”; “BACKGROUNDS”; “SWIRLS”; “MANDALA” etc. Flip through them to find THE one or more of course you want for your piece. So time saving I can tell you LOL
Don’t worry, stenciling is not that complicated and you really can get superb results on your pieces. The challenge people (and tbh I put myself with them) encounter mostly when applying paint through a stencil
- The paint is seeping behind the stencil – it’s also called bleed through and this can cause a blotchy print or the edges are not clean or crisp. Very frustrating and discouraging.
Here are a few things to keep in mind for the so called normal stenciling

- Use good quality stencil with higher Mylar, This is especially important for the raised stenciling.
- I generally use a paint brush with firm bristles not necessarily a stencil brush but they work absolutely fine too.
- There must be no gaps between your stencil and the surface! Use masking tape AND hold it down. Another great way is to spray repositionable contact adhesive especially if used on walls for example. I have these huge stencils and honestly they are difficult to hold in place just with some tape.
- Do NOT put too much paint on your brush. It’s better to have a brush “under loaded” than the contrary. Pour a little paint on a dish, dab your brush in the paint, then dab it next to the paint pour to even it out. Next dab off the paint on a piece of kitchen towel. You’re ready to go now: Make a stippling movement on your stencil working from the edges inwards towards the stencil holes. Do this all over the stencil design and load/offload paint while you complete the design.
- Don’t forget to clean your stencil with warm soapy water and take off the paint. If you used the adhesive spray then some mineral spirit before washing will do the trick
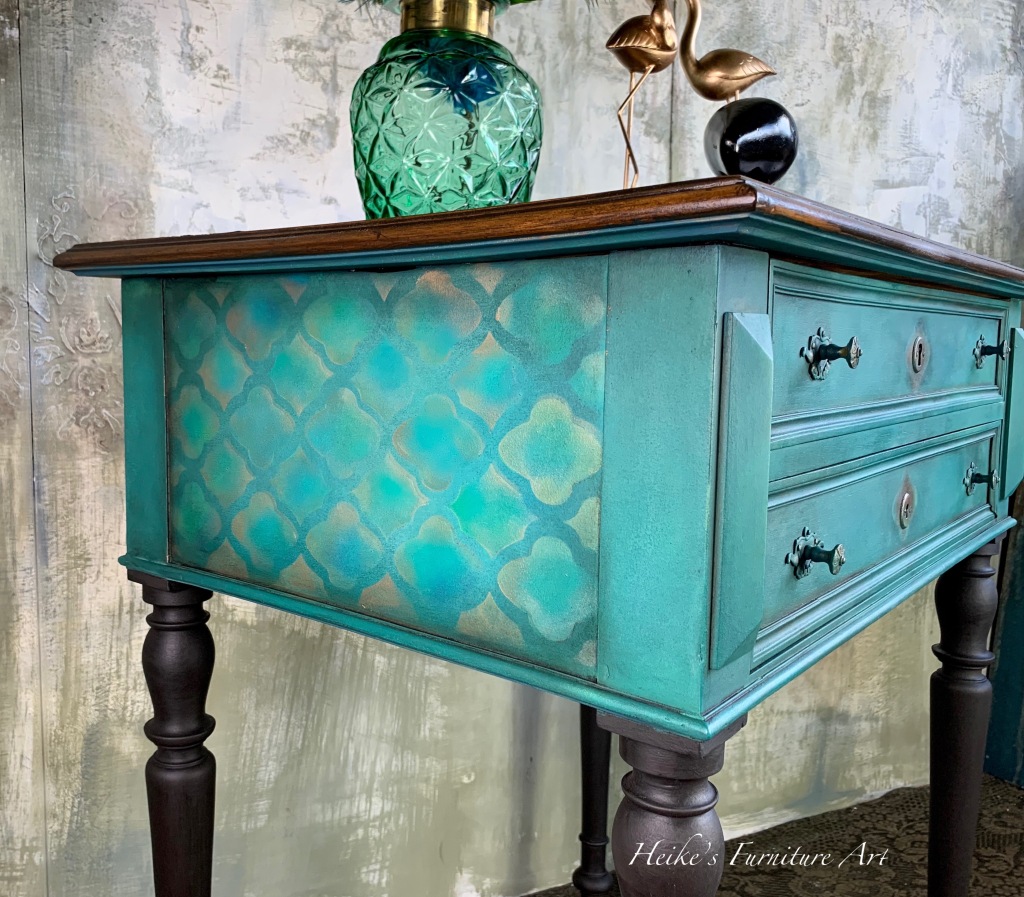
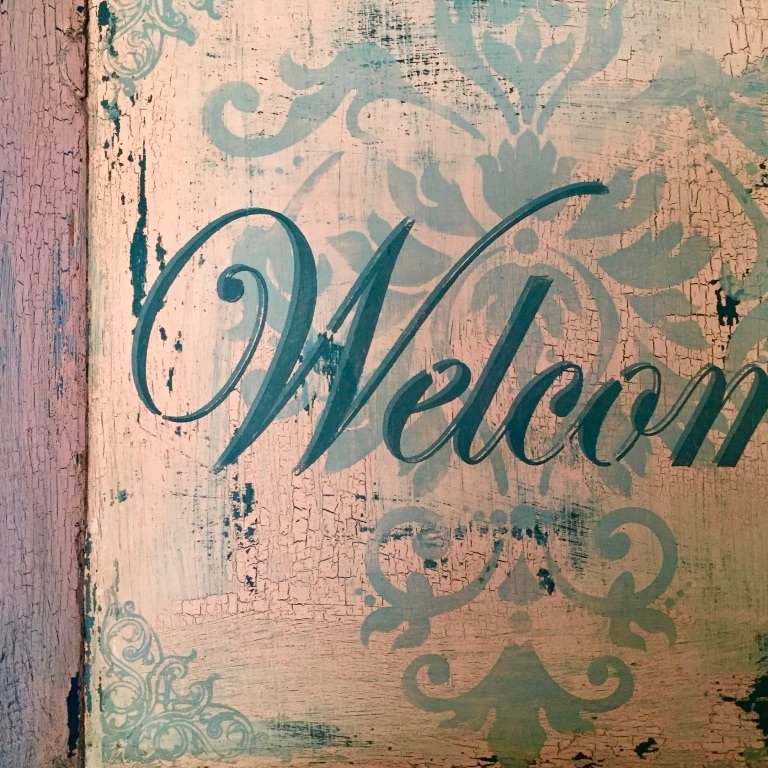
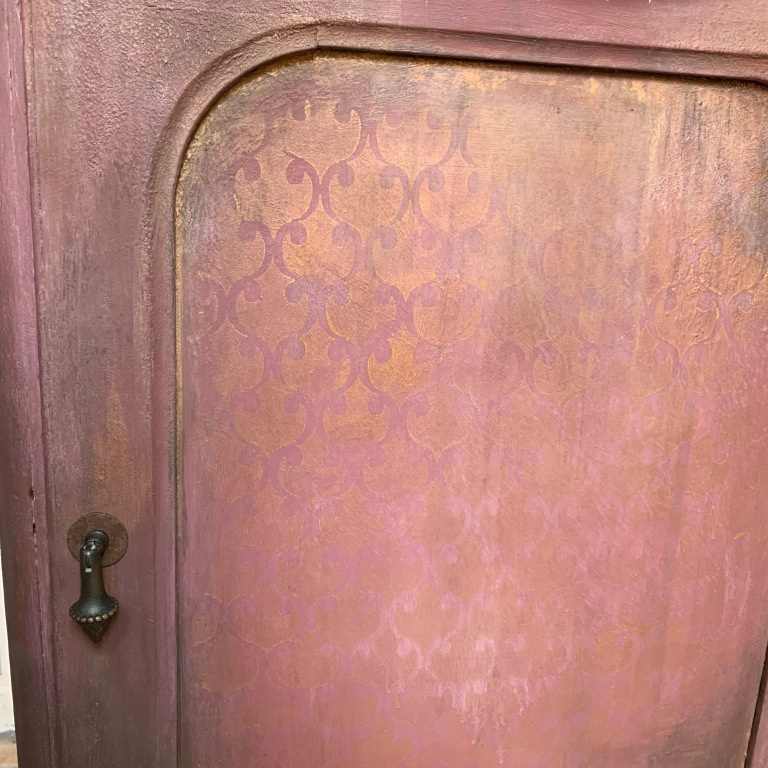
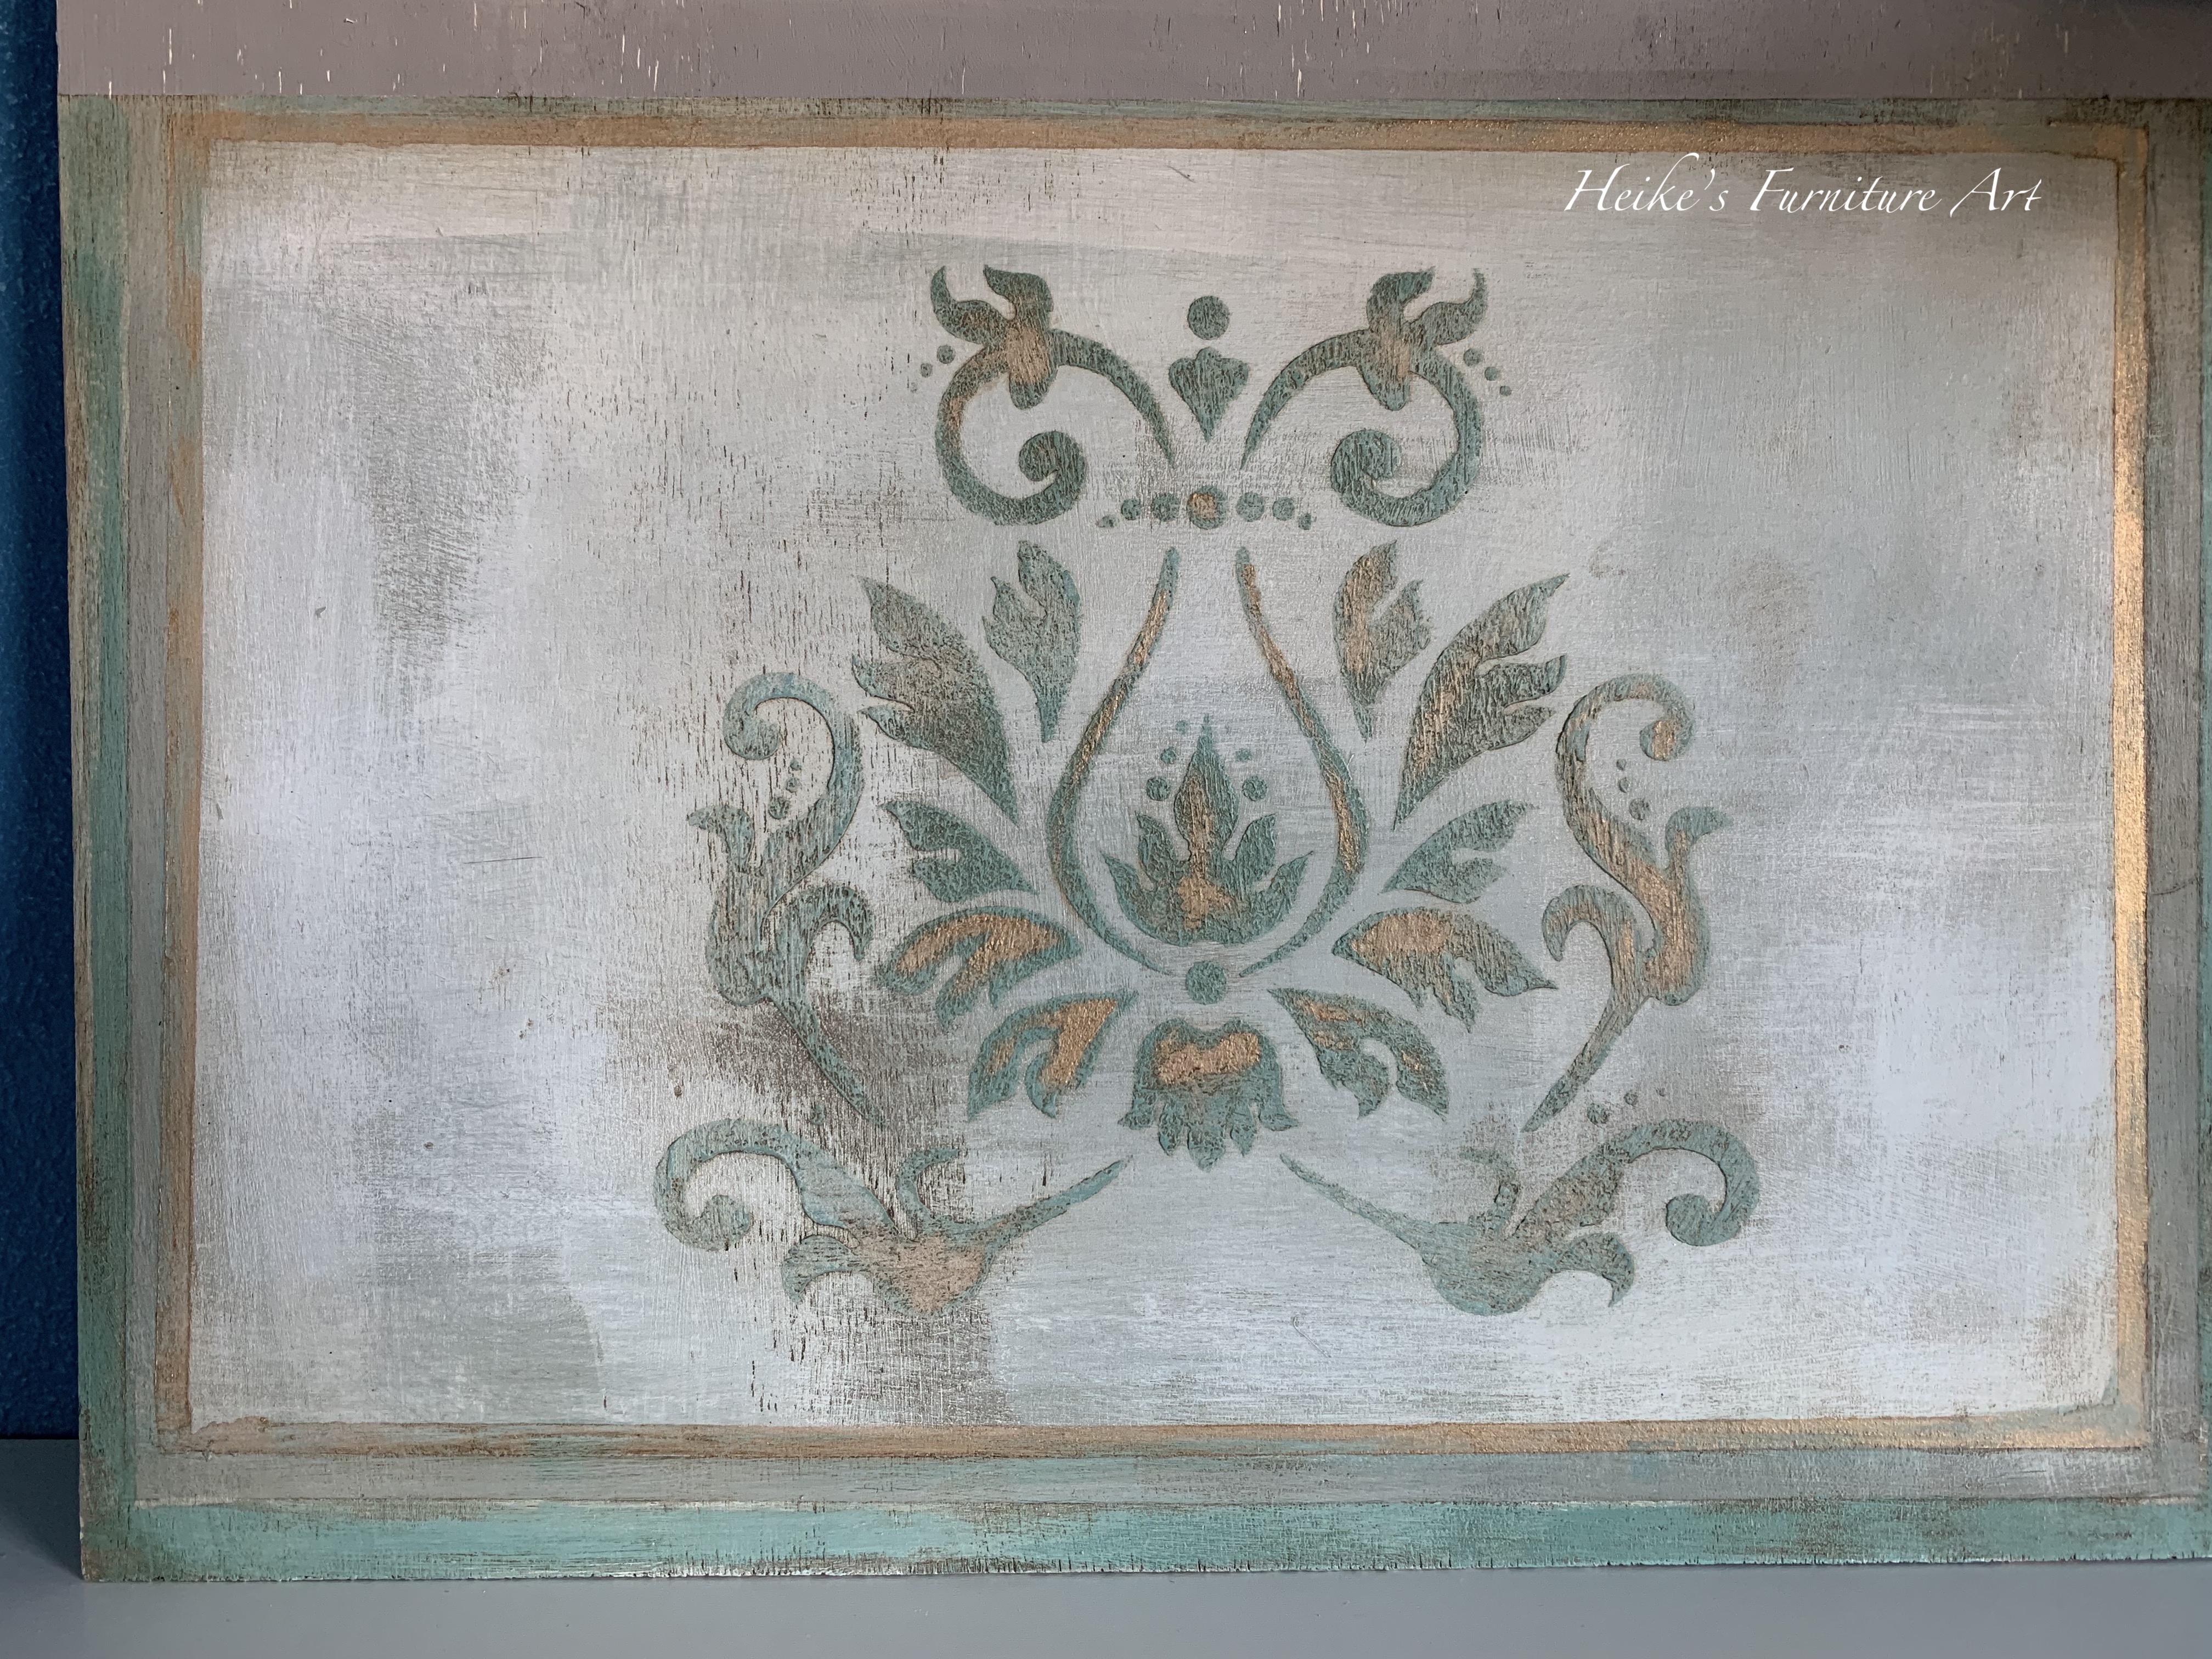
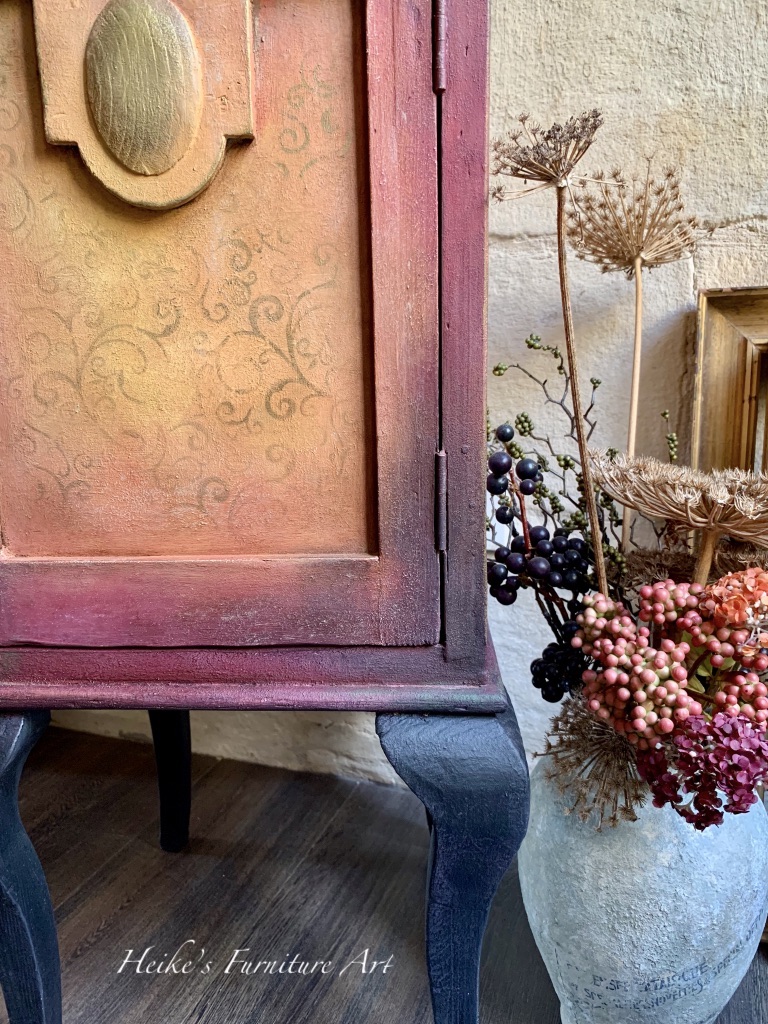
Use as subtle background
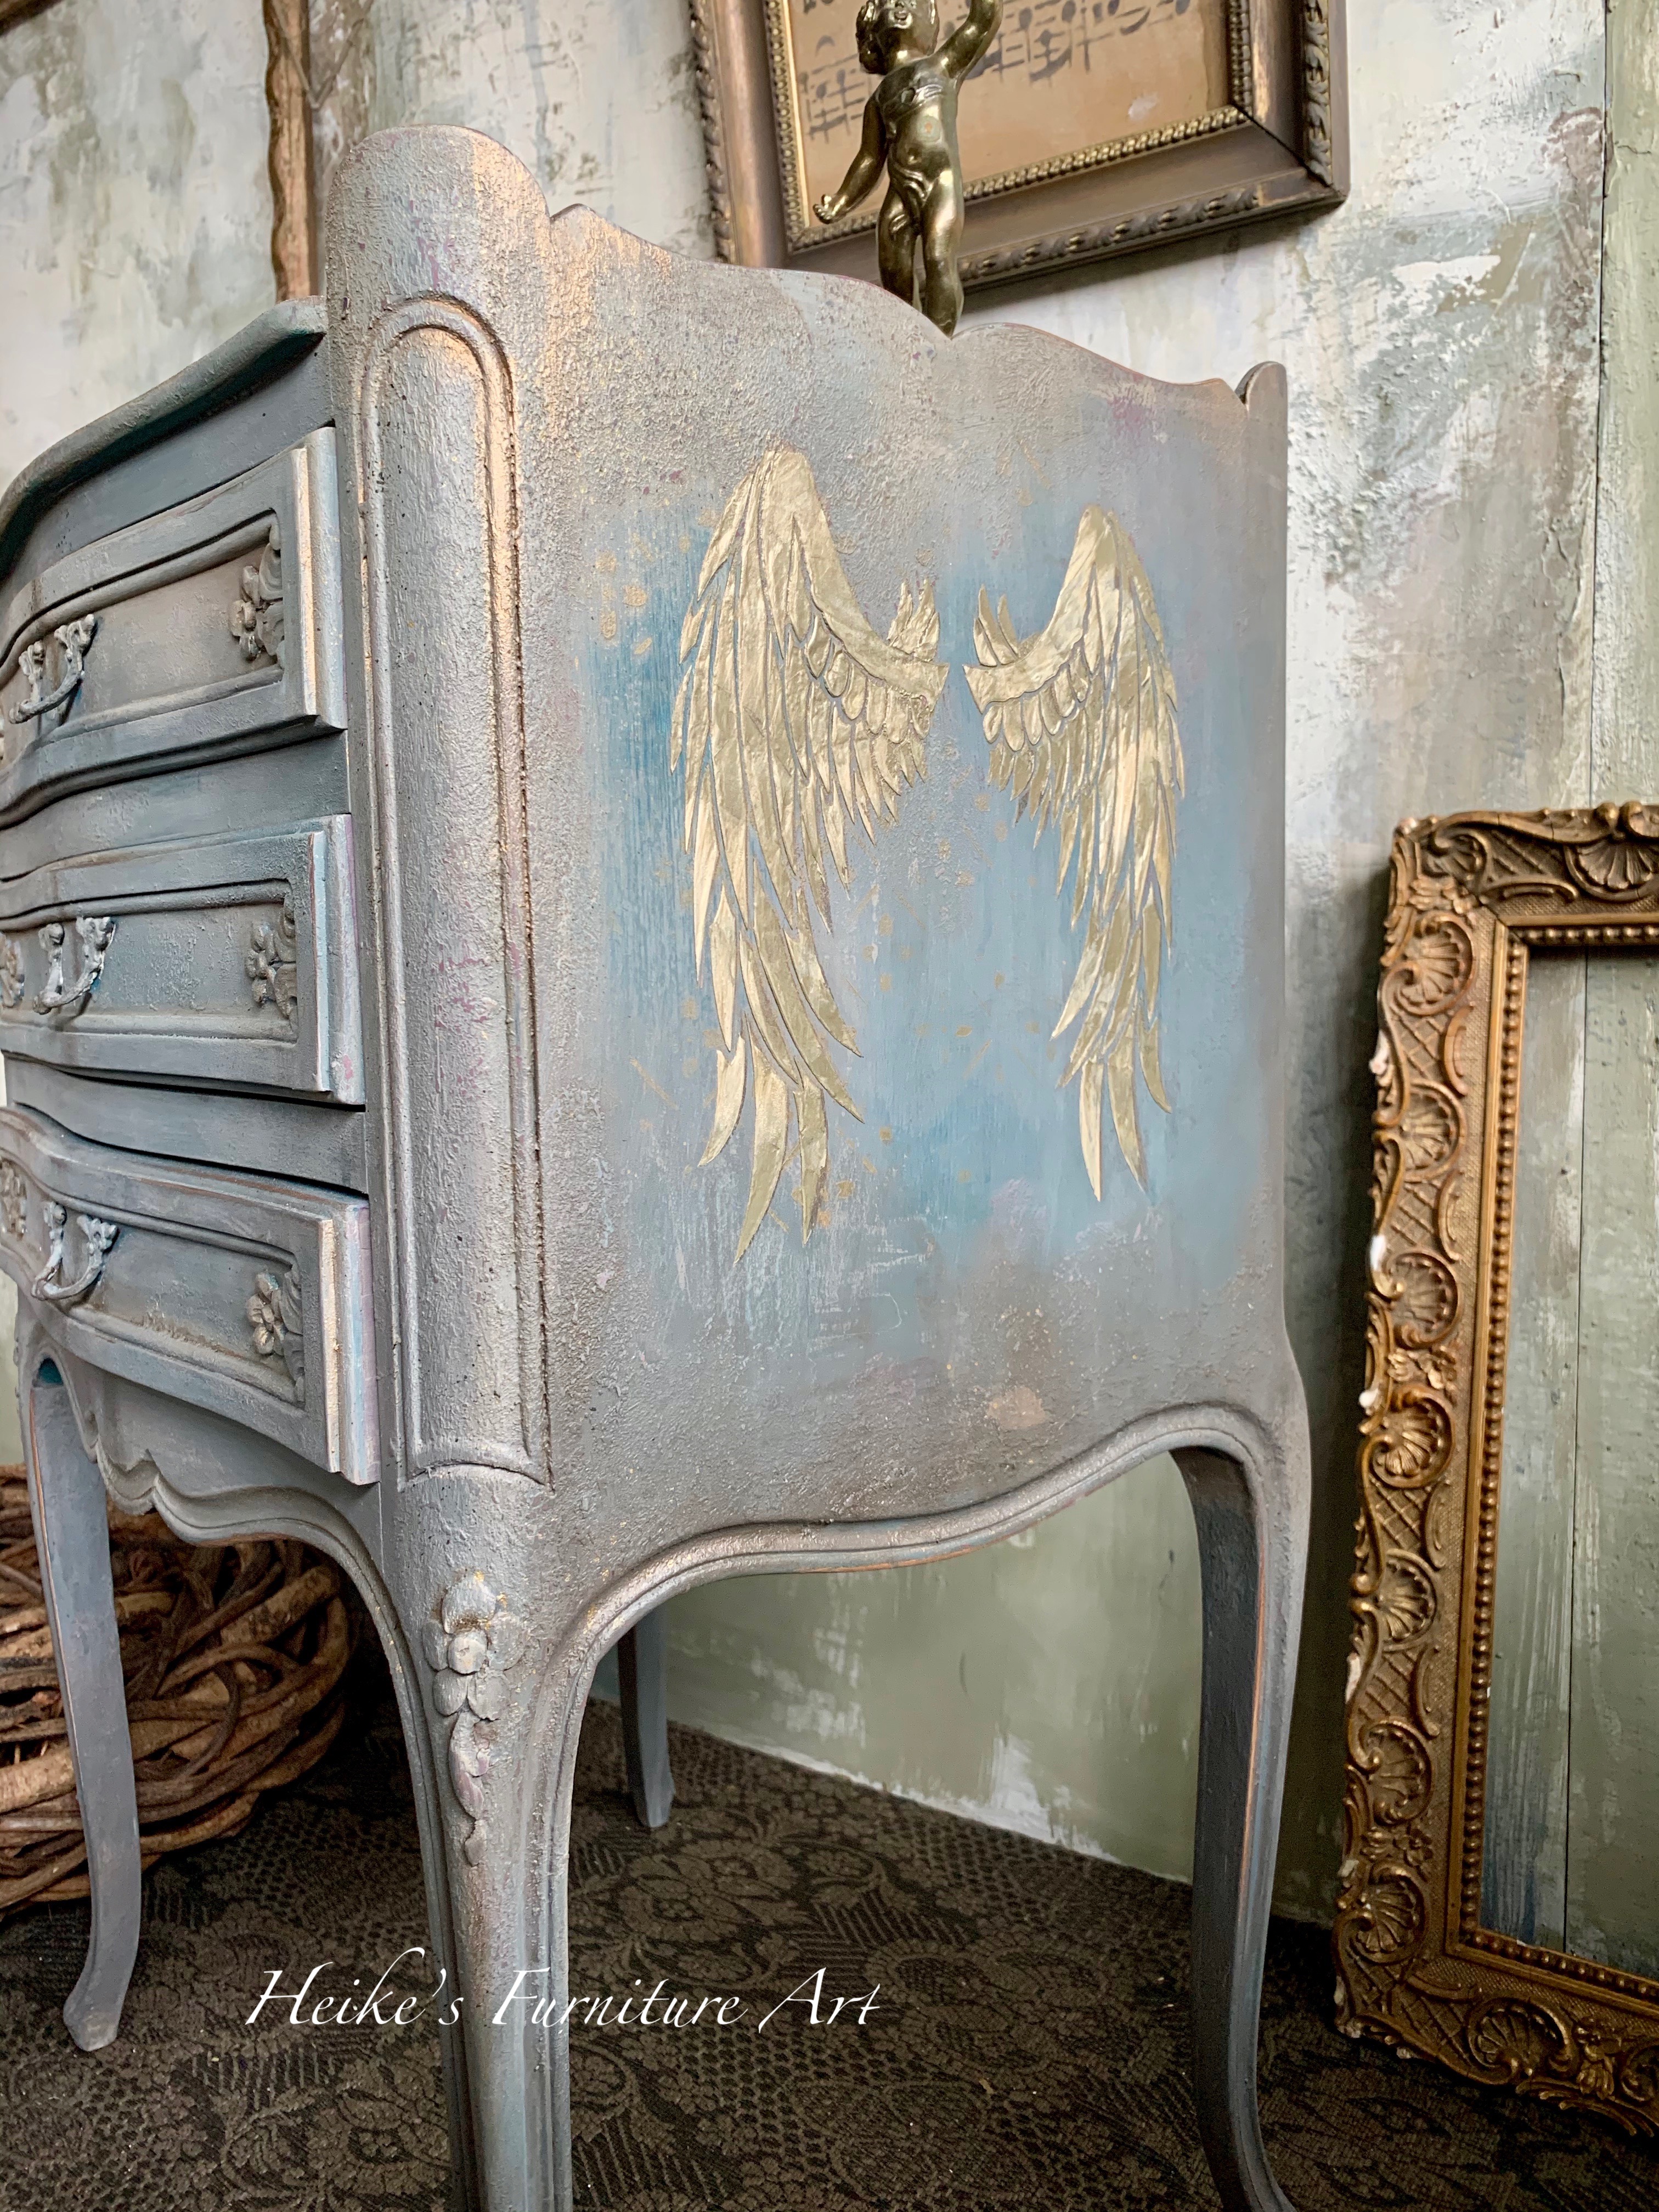
I also like using the stenciling as a faint background design. When I place my stencil I will not go over every single area, be very light with my paint or with my gilding wax that I like to use to create the design.


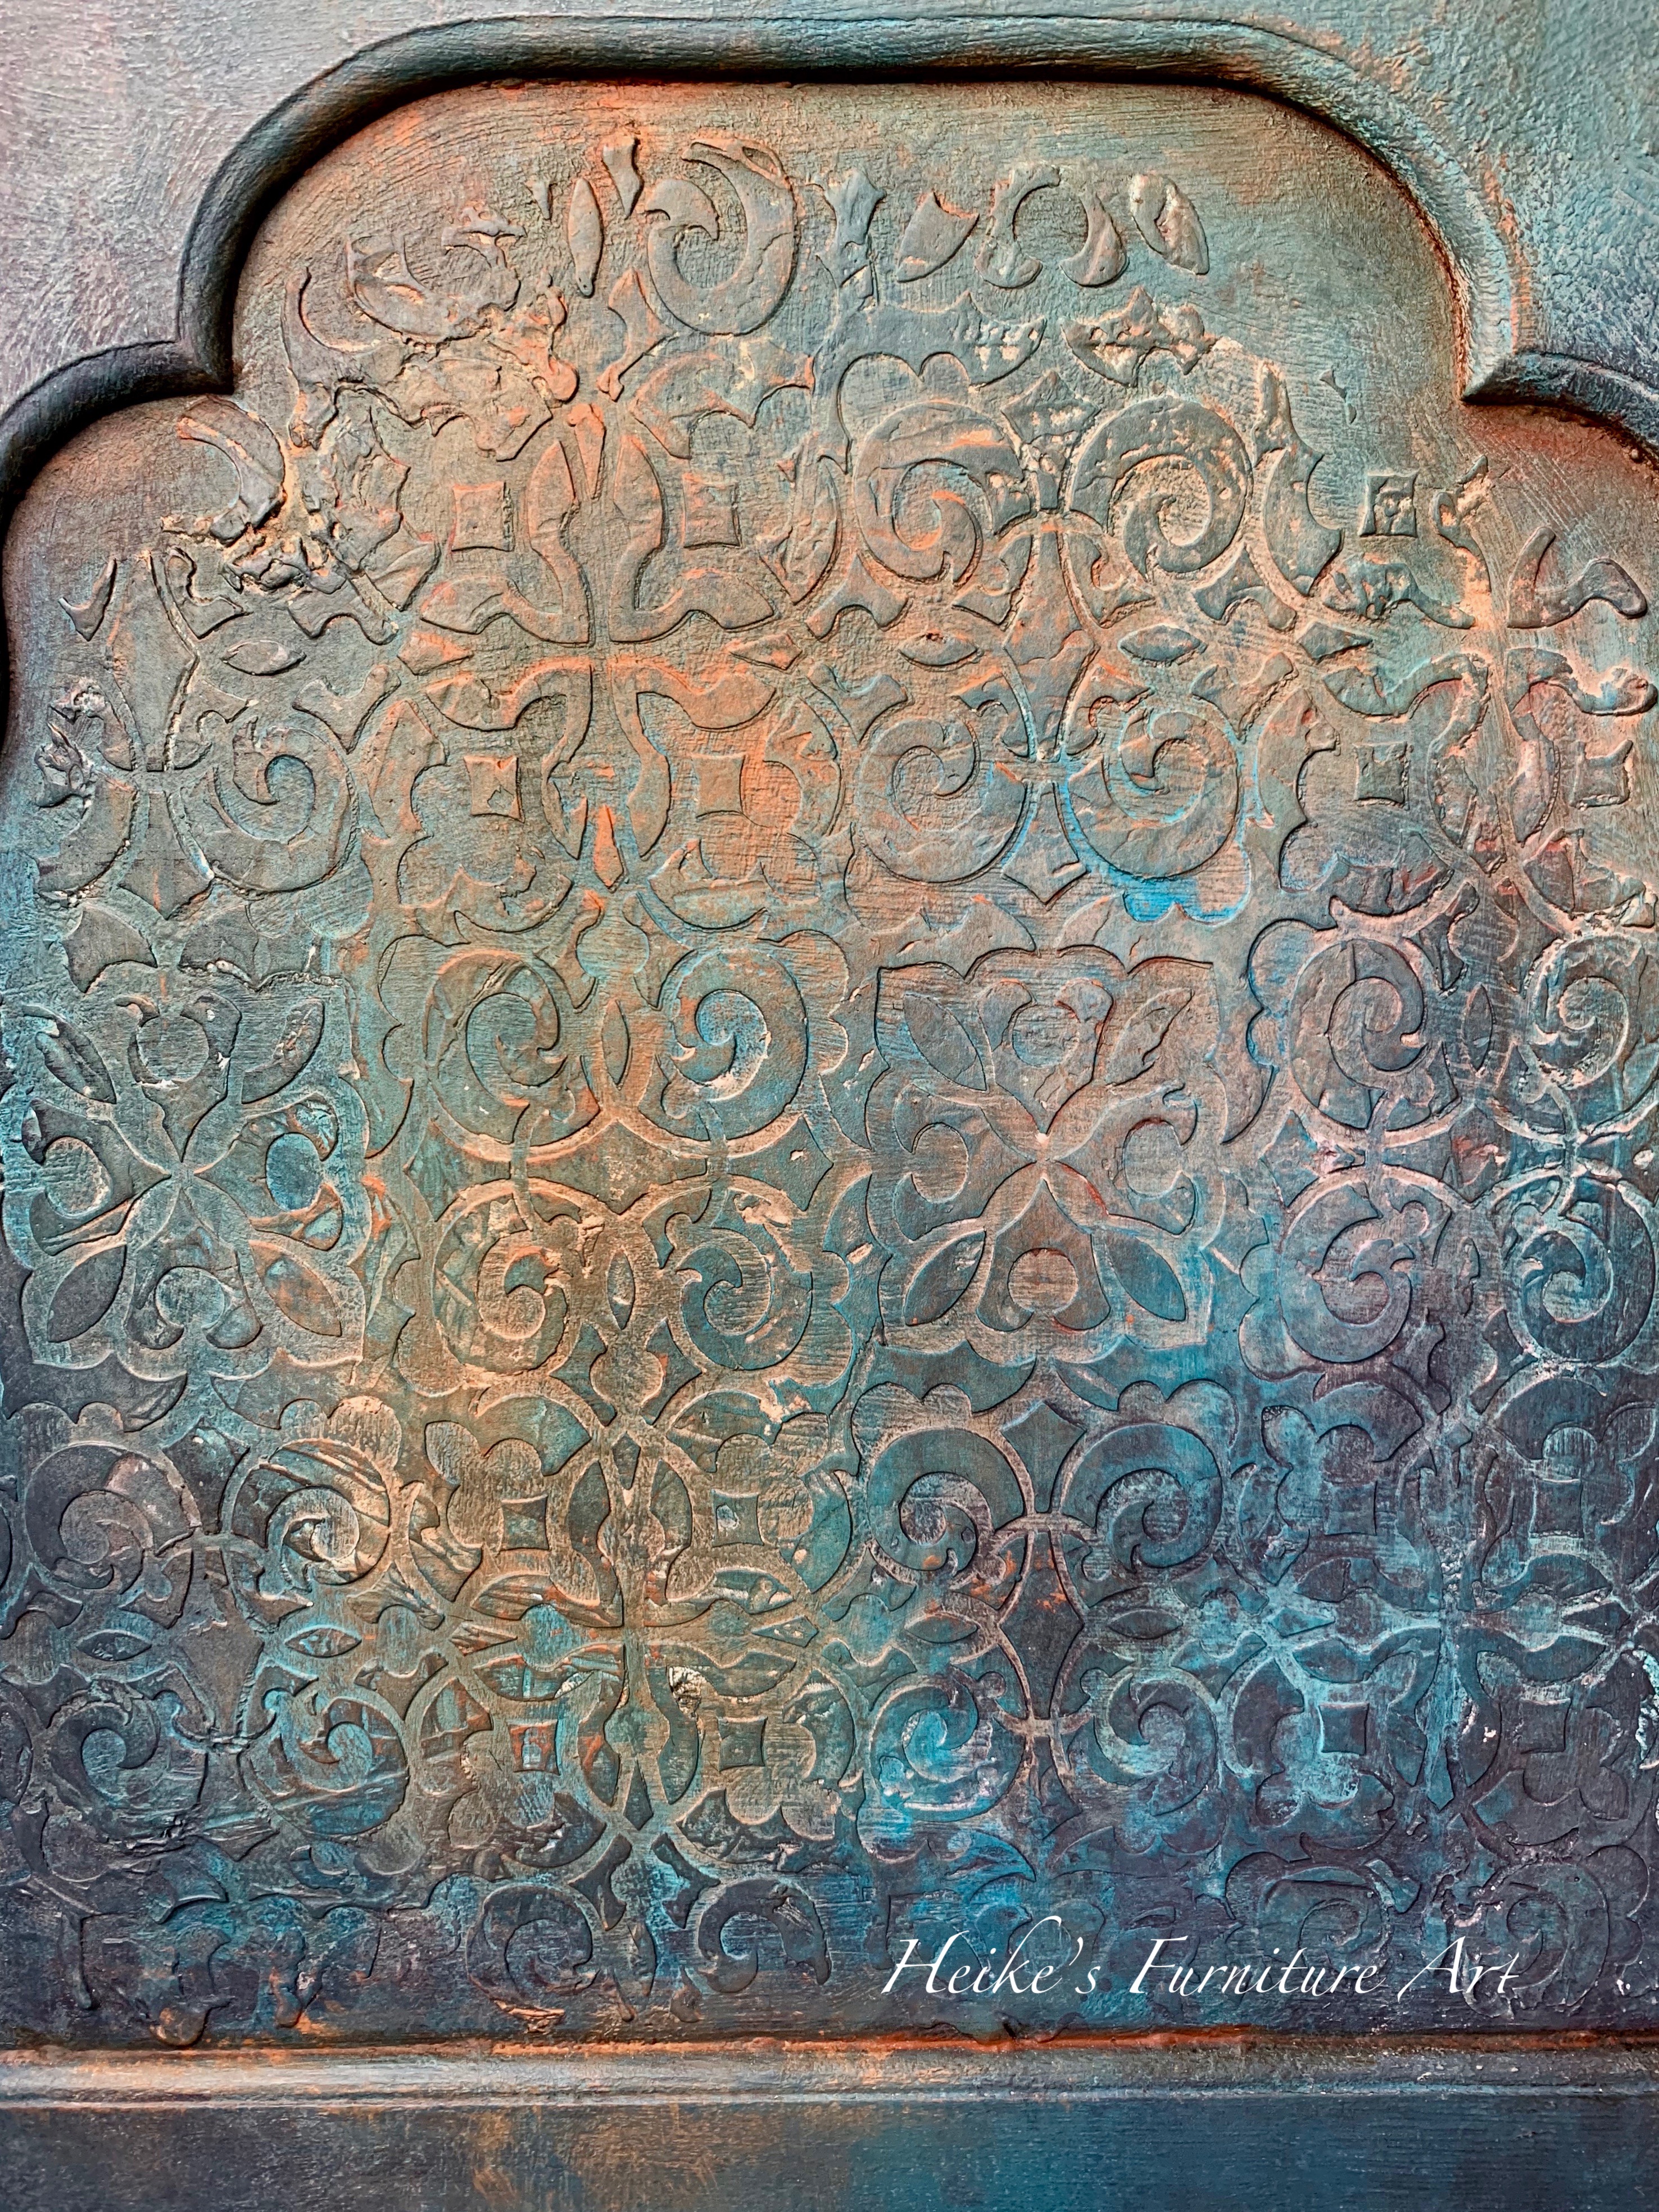
Raised stenciling is my absolute favorite
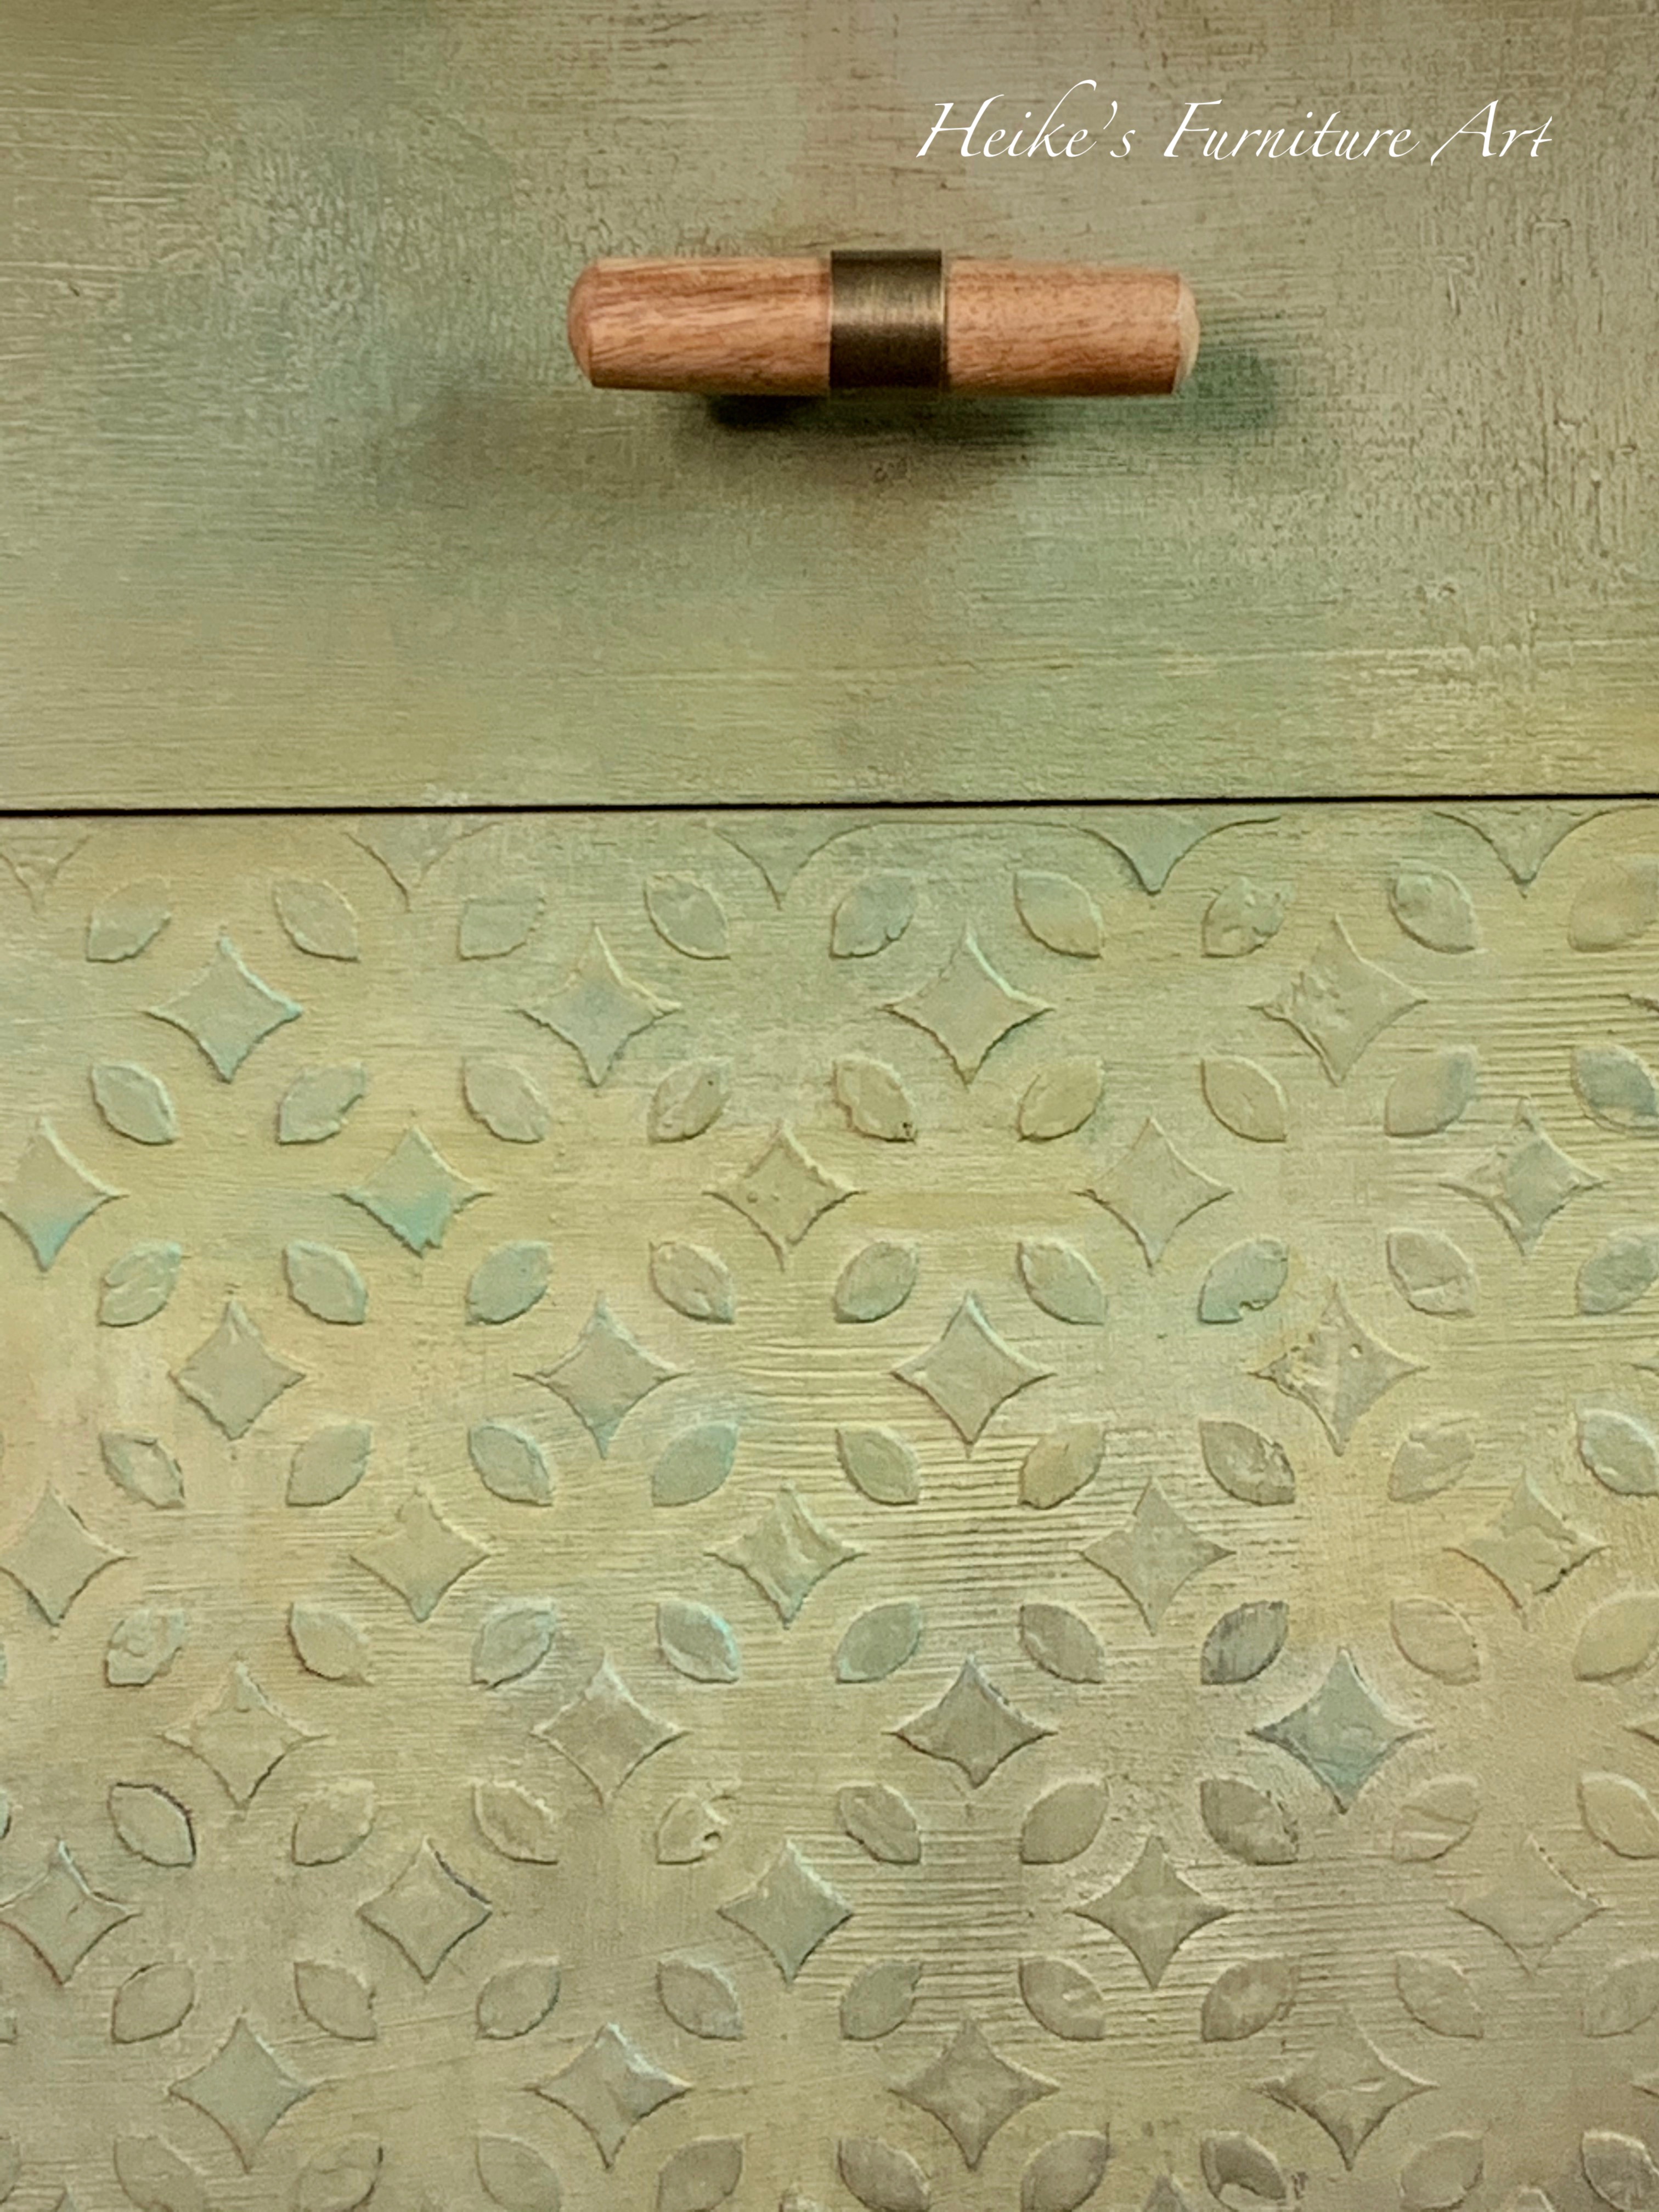
For the raised stenciling you may use different mediums such as joint compound or paint with a texture additive medium. I like using both, depending what I have on hand at the moment. Paint, waxes, powders…. catch in the nooks and crannies achieved with the stencil. Love it!
The challenge is the same as above – seep through the design.
- Advice: Tape the stencil to the surface to prevent shifting.
- Smooth a layer of texture over your stencil, using a spreader. This can be an old credit card or a silicon spatula or a plastic spreader. I like the Dixie Belle mud spatula or a silicon spatula best.
- Tip: if you like it structured and not smooth then once you applied the medium with your tool, dab lightly over the medium to create some kind of roughness.
- Apply firm but even pressure. If you have a splodge once you take the stencil off, scrape it away while the medium is still damp, using a tool with a flat edge or an ear cotton bud.

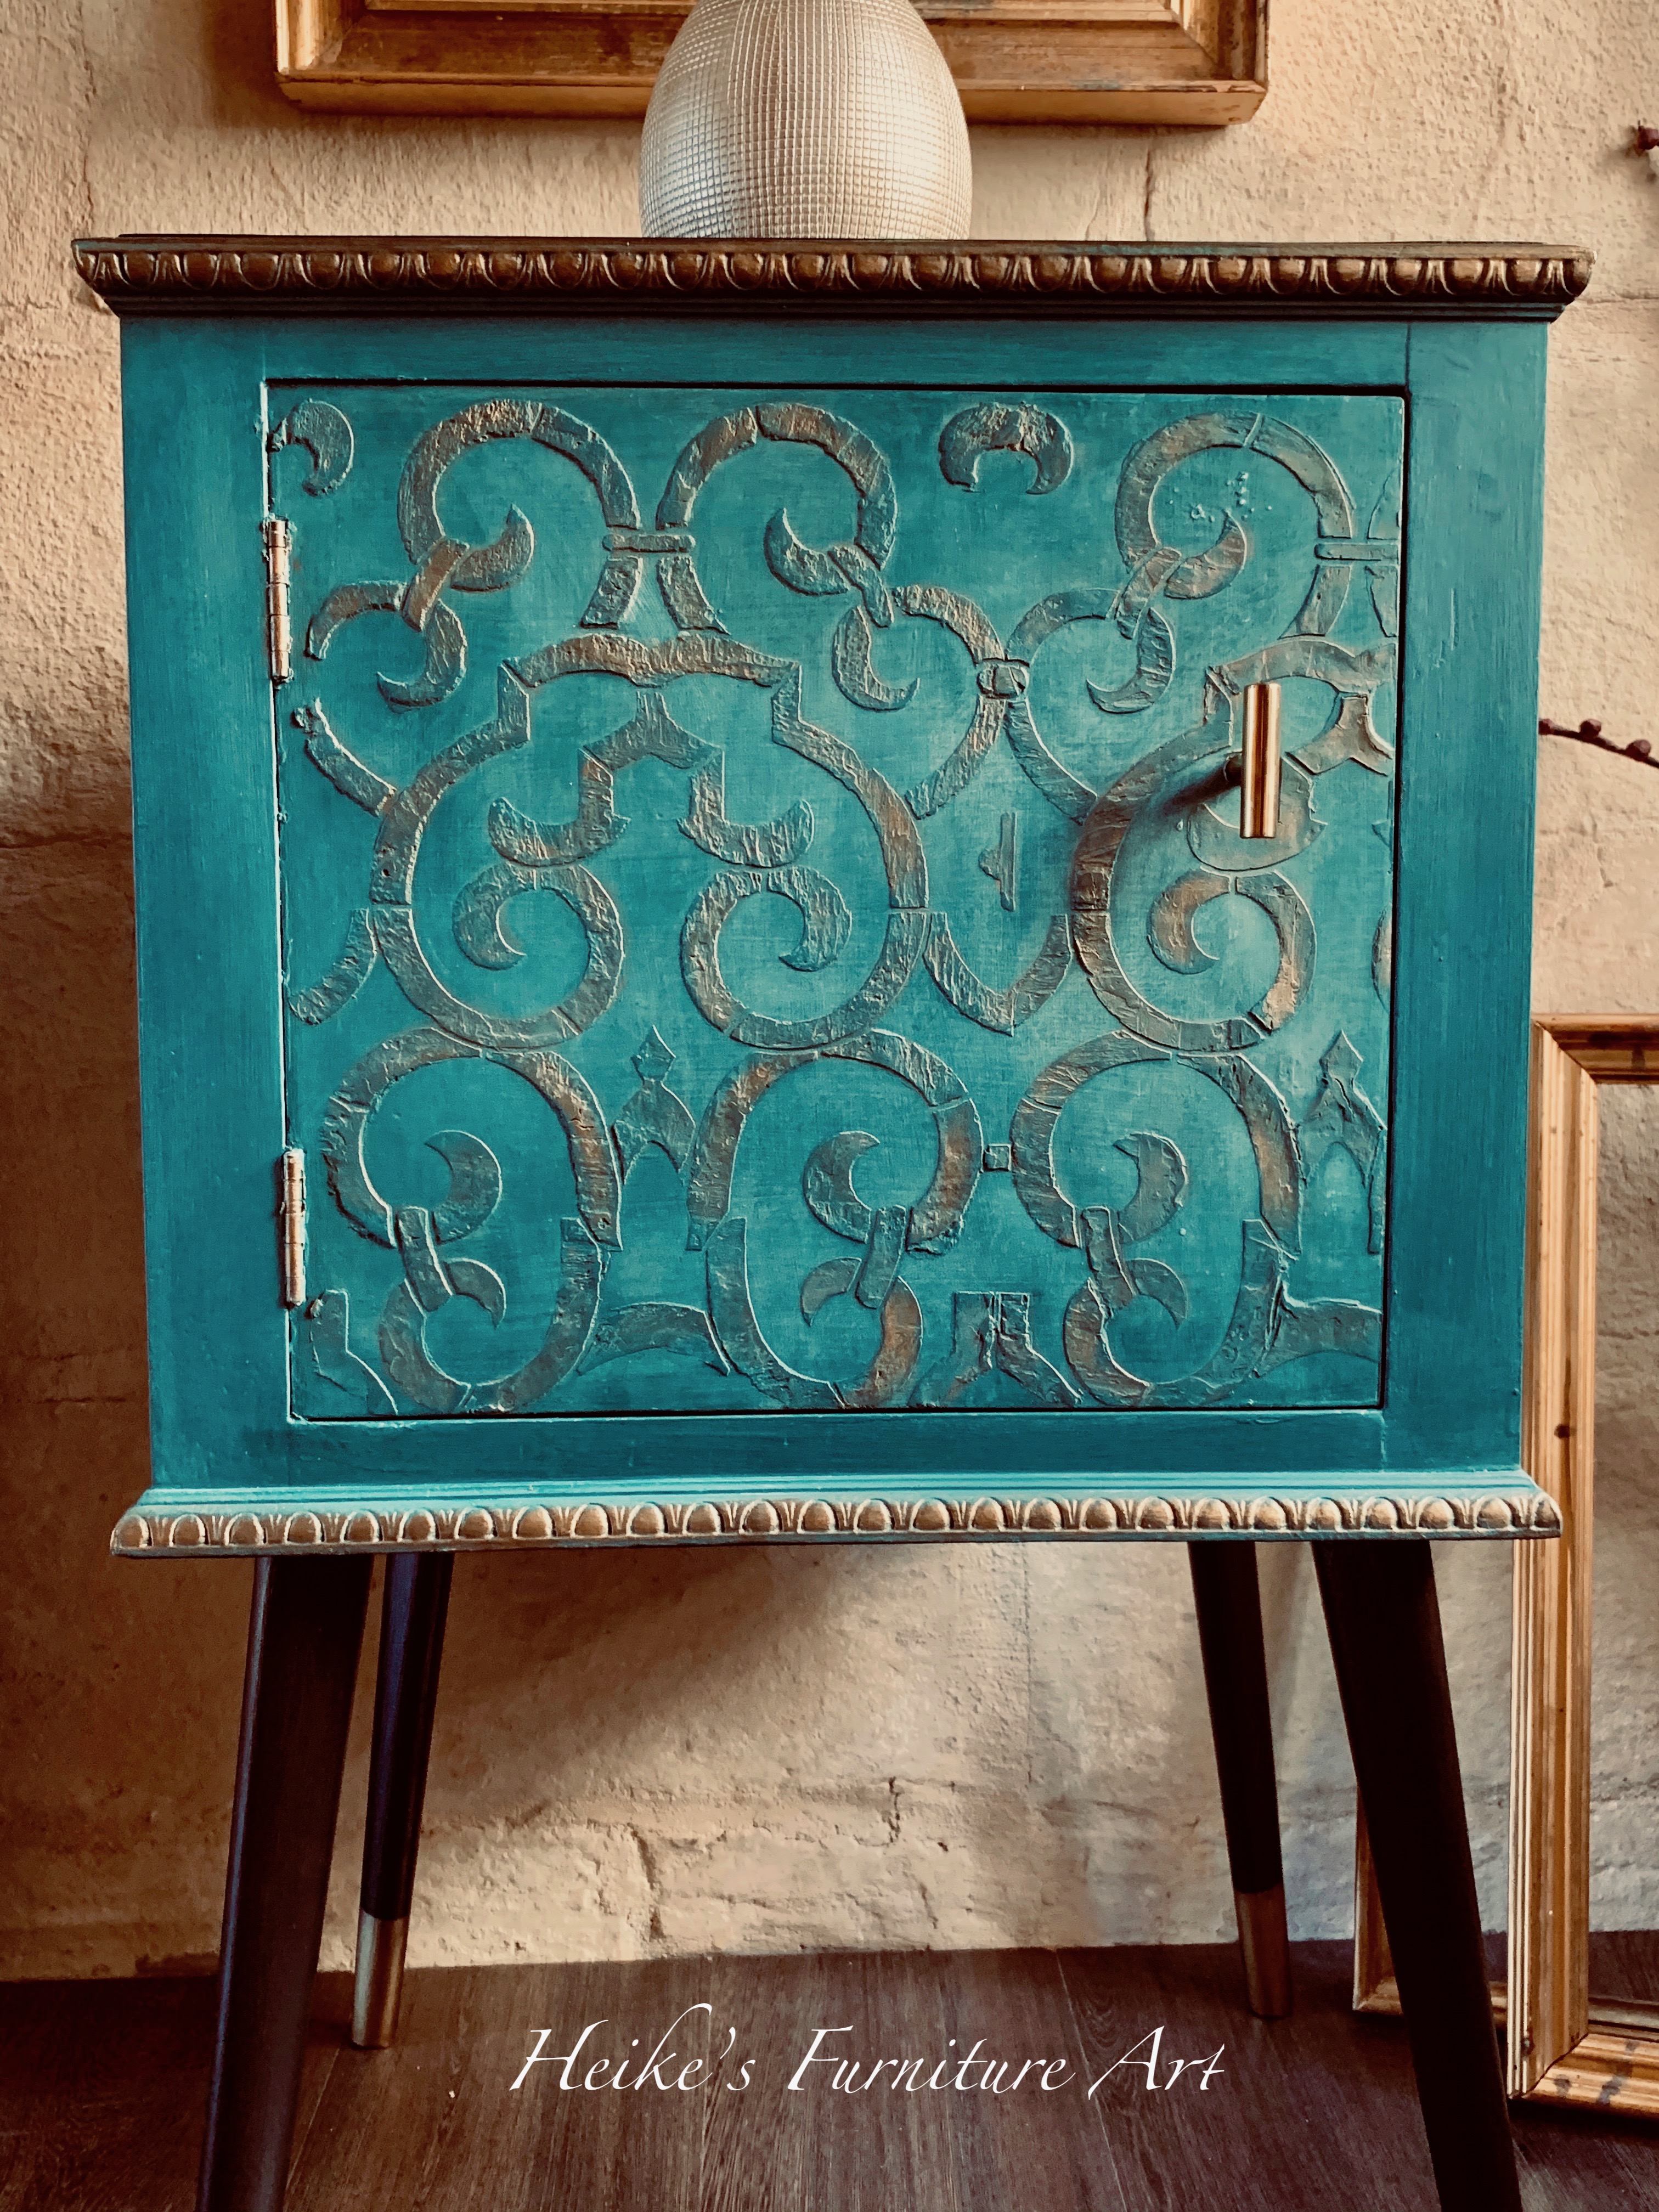
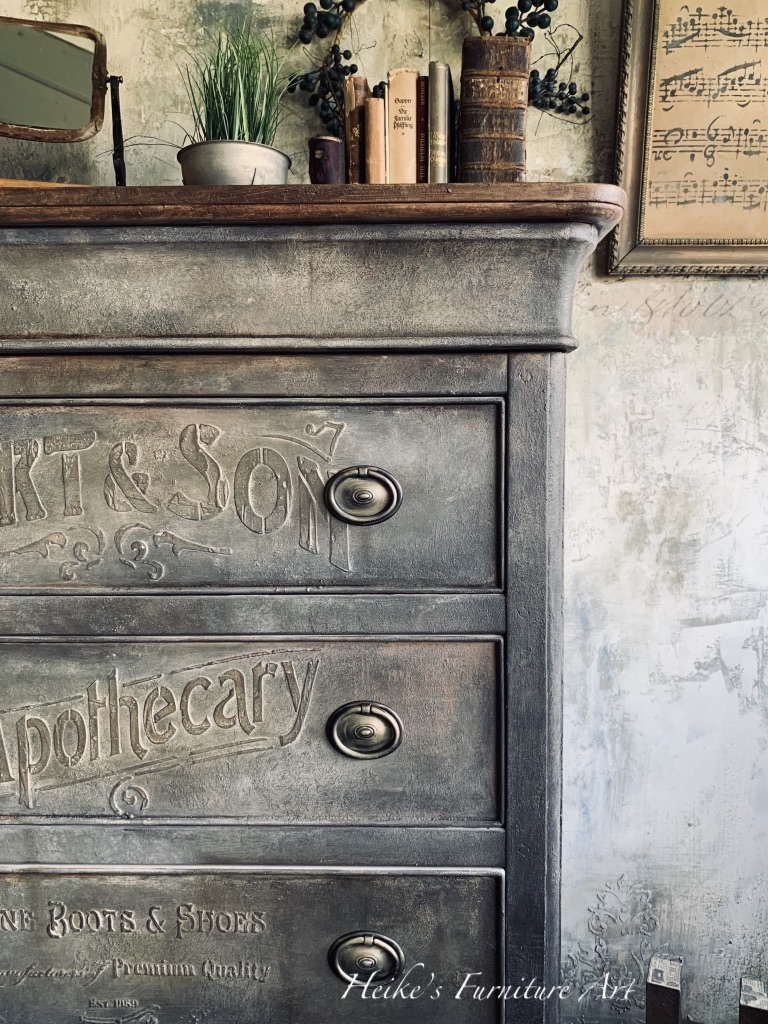
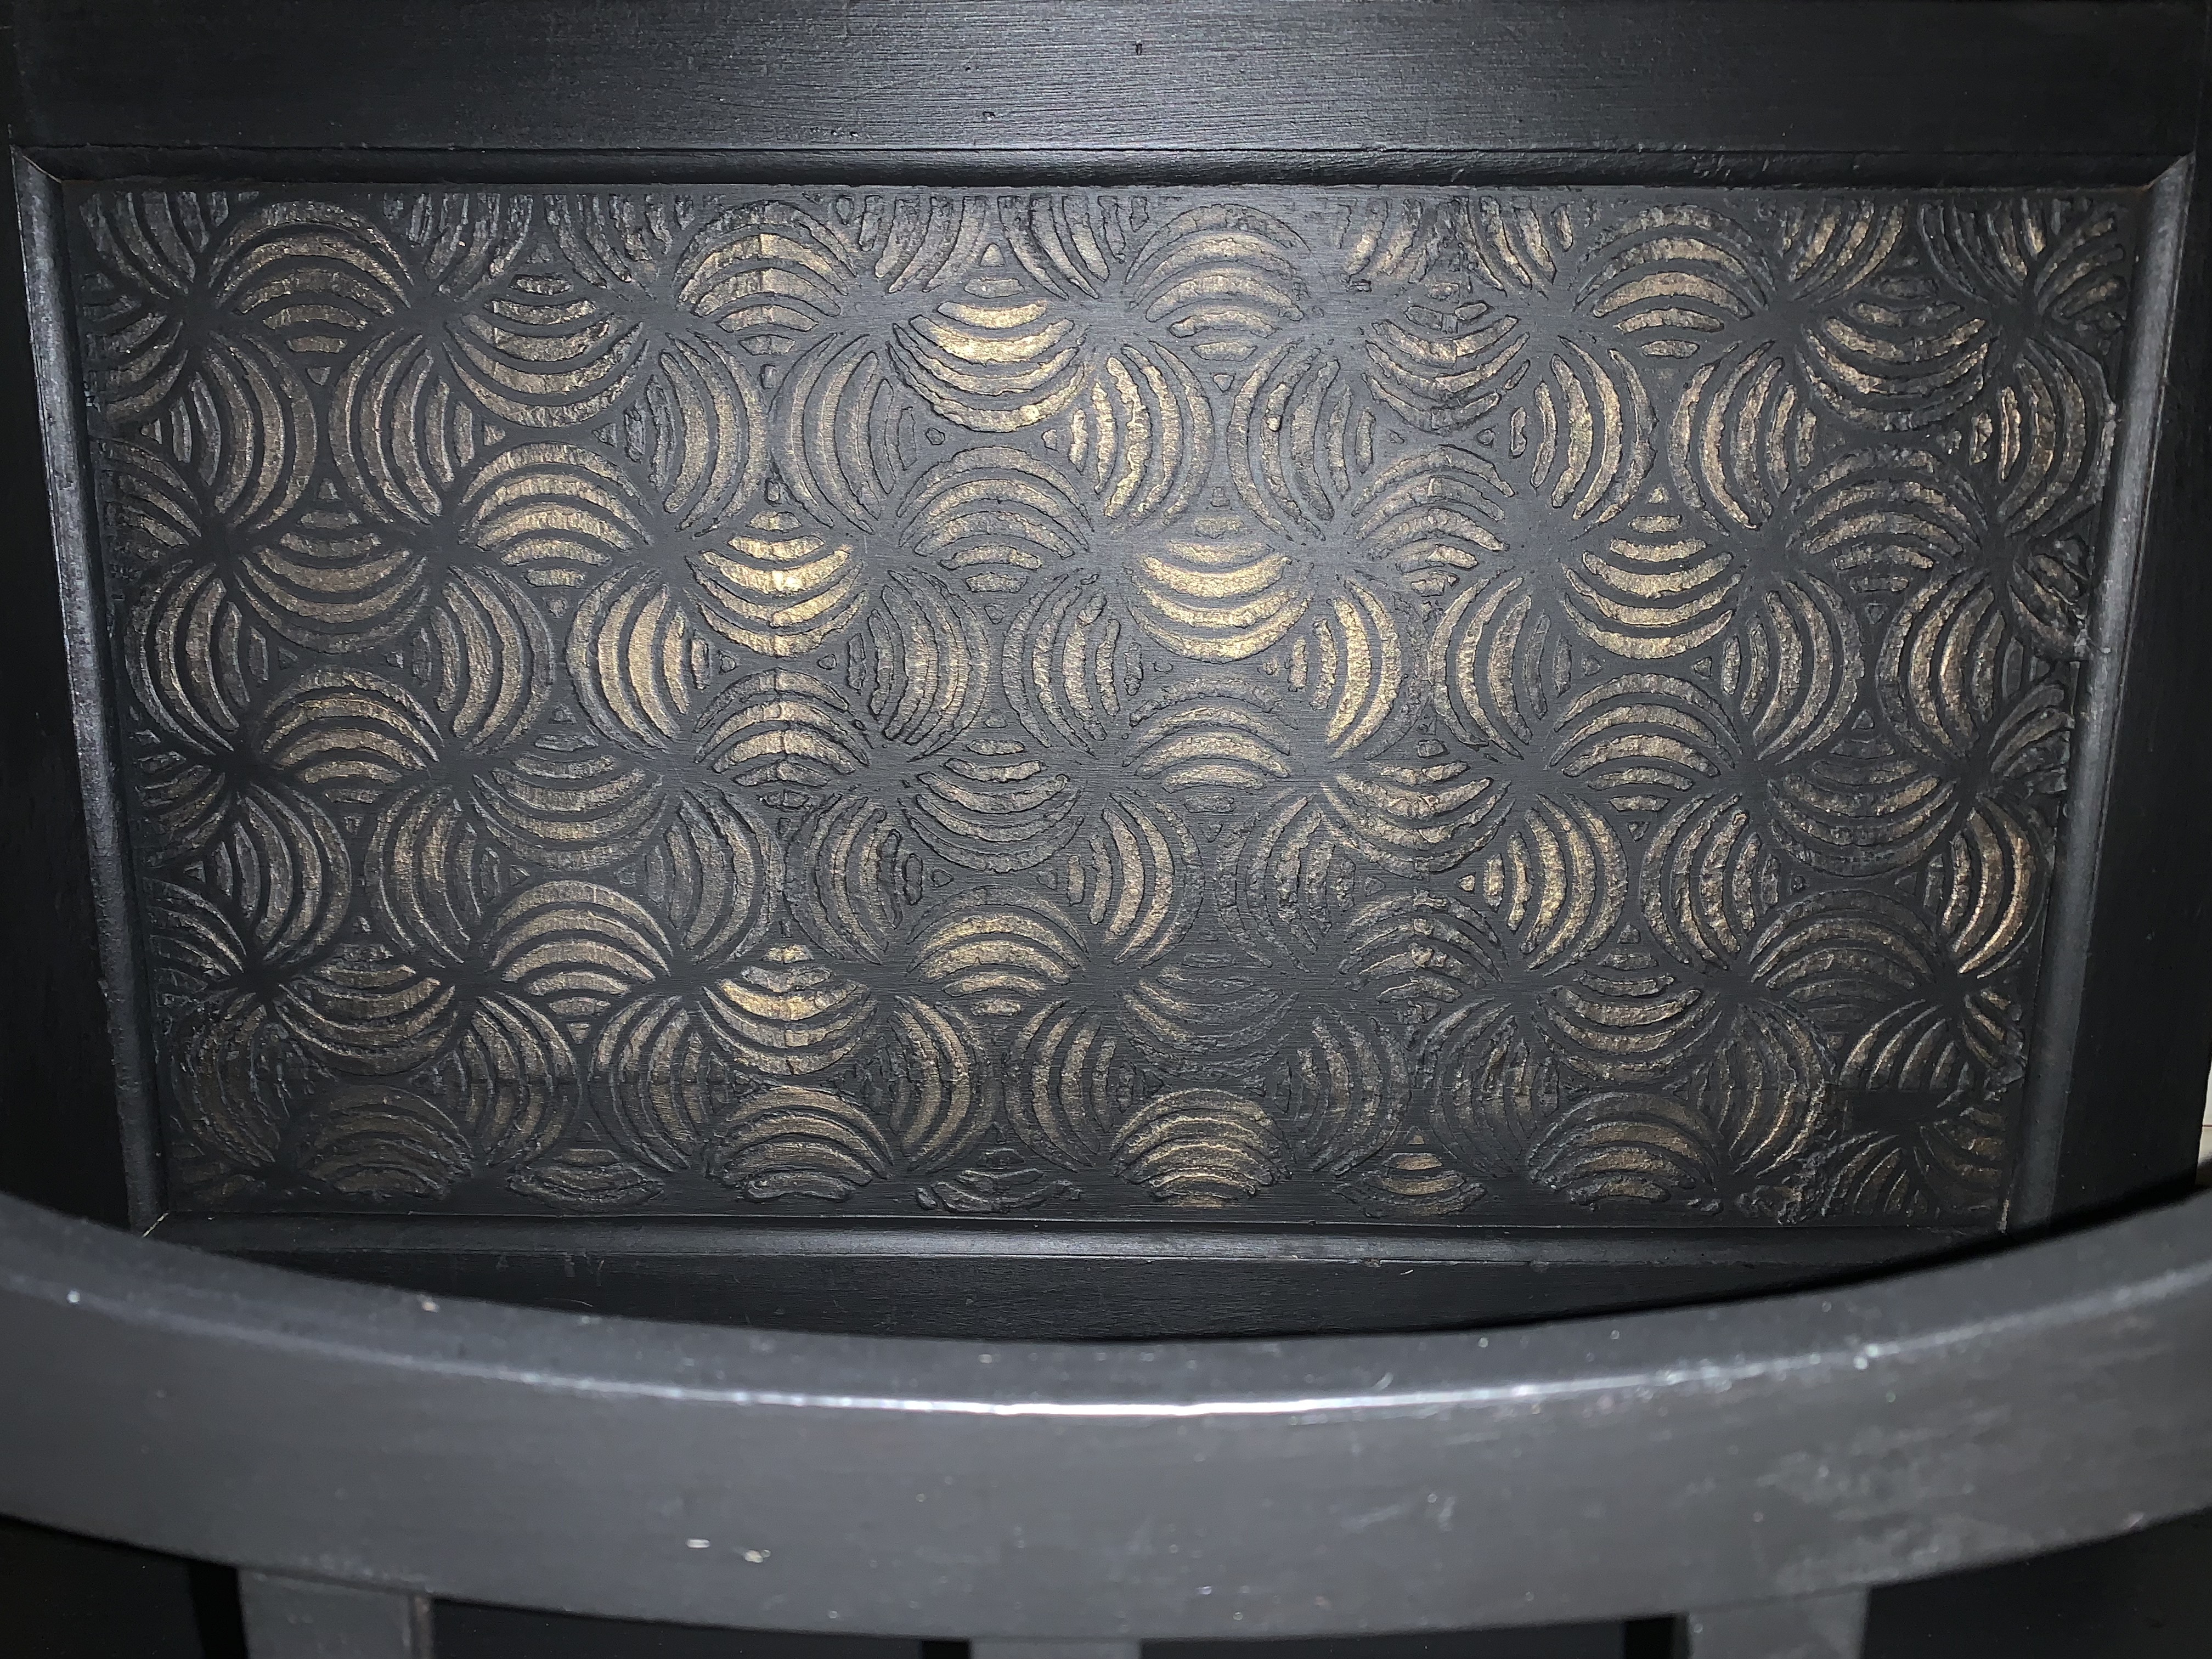
Several layers of medium create a heavy raised stencil. You can also add some very fine sand medium for example to achieve this look. Here I used a thick but workable mixture of paint and Sea spray (a Dixie Belle texture additive) let it dry and then layed my stencil over the existing dry design and added another mixture. This time adding a bit of sand medium.
Tip: if you just blow dry a minute so the top has a kind of a “skin”, it’s easier to take the stencil off for the first time.

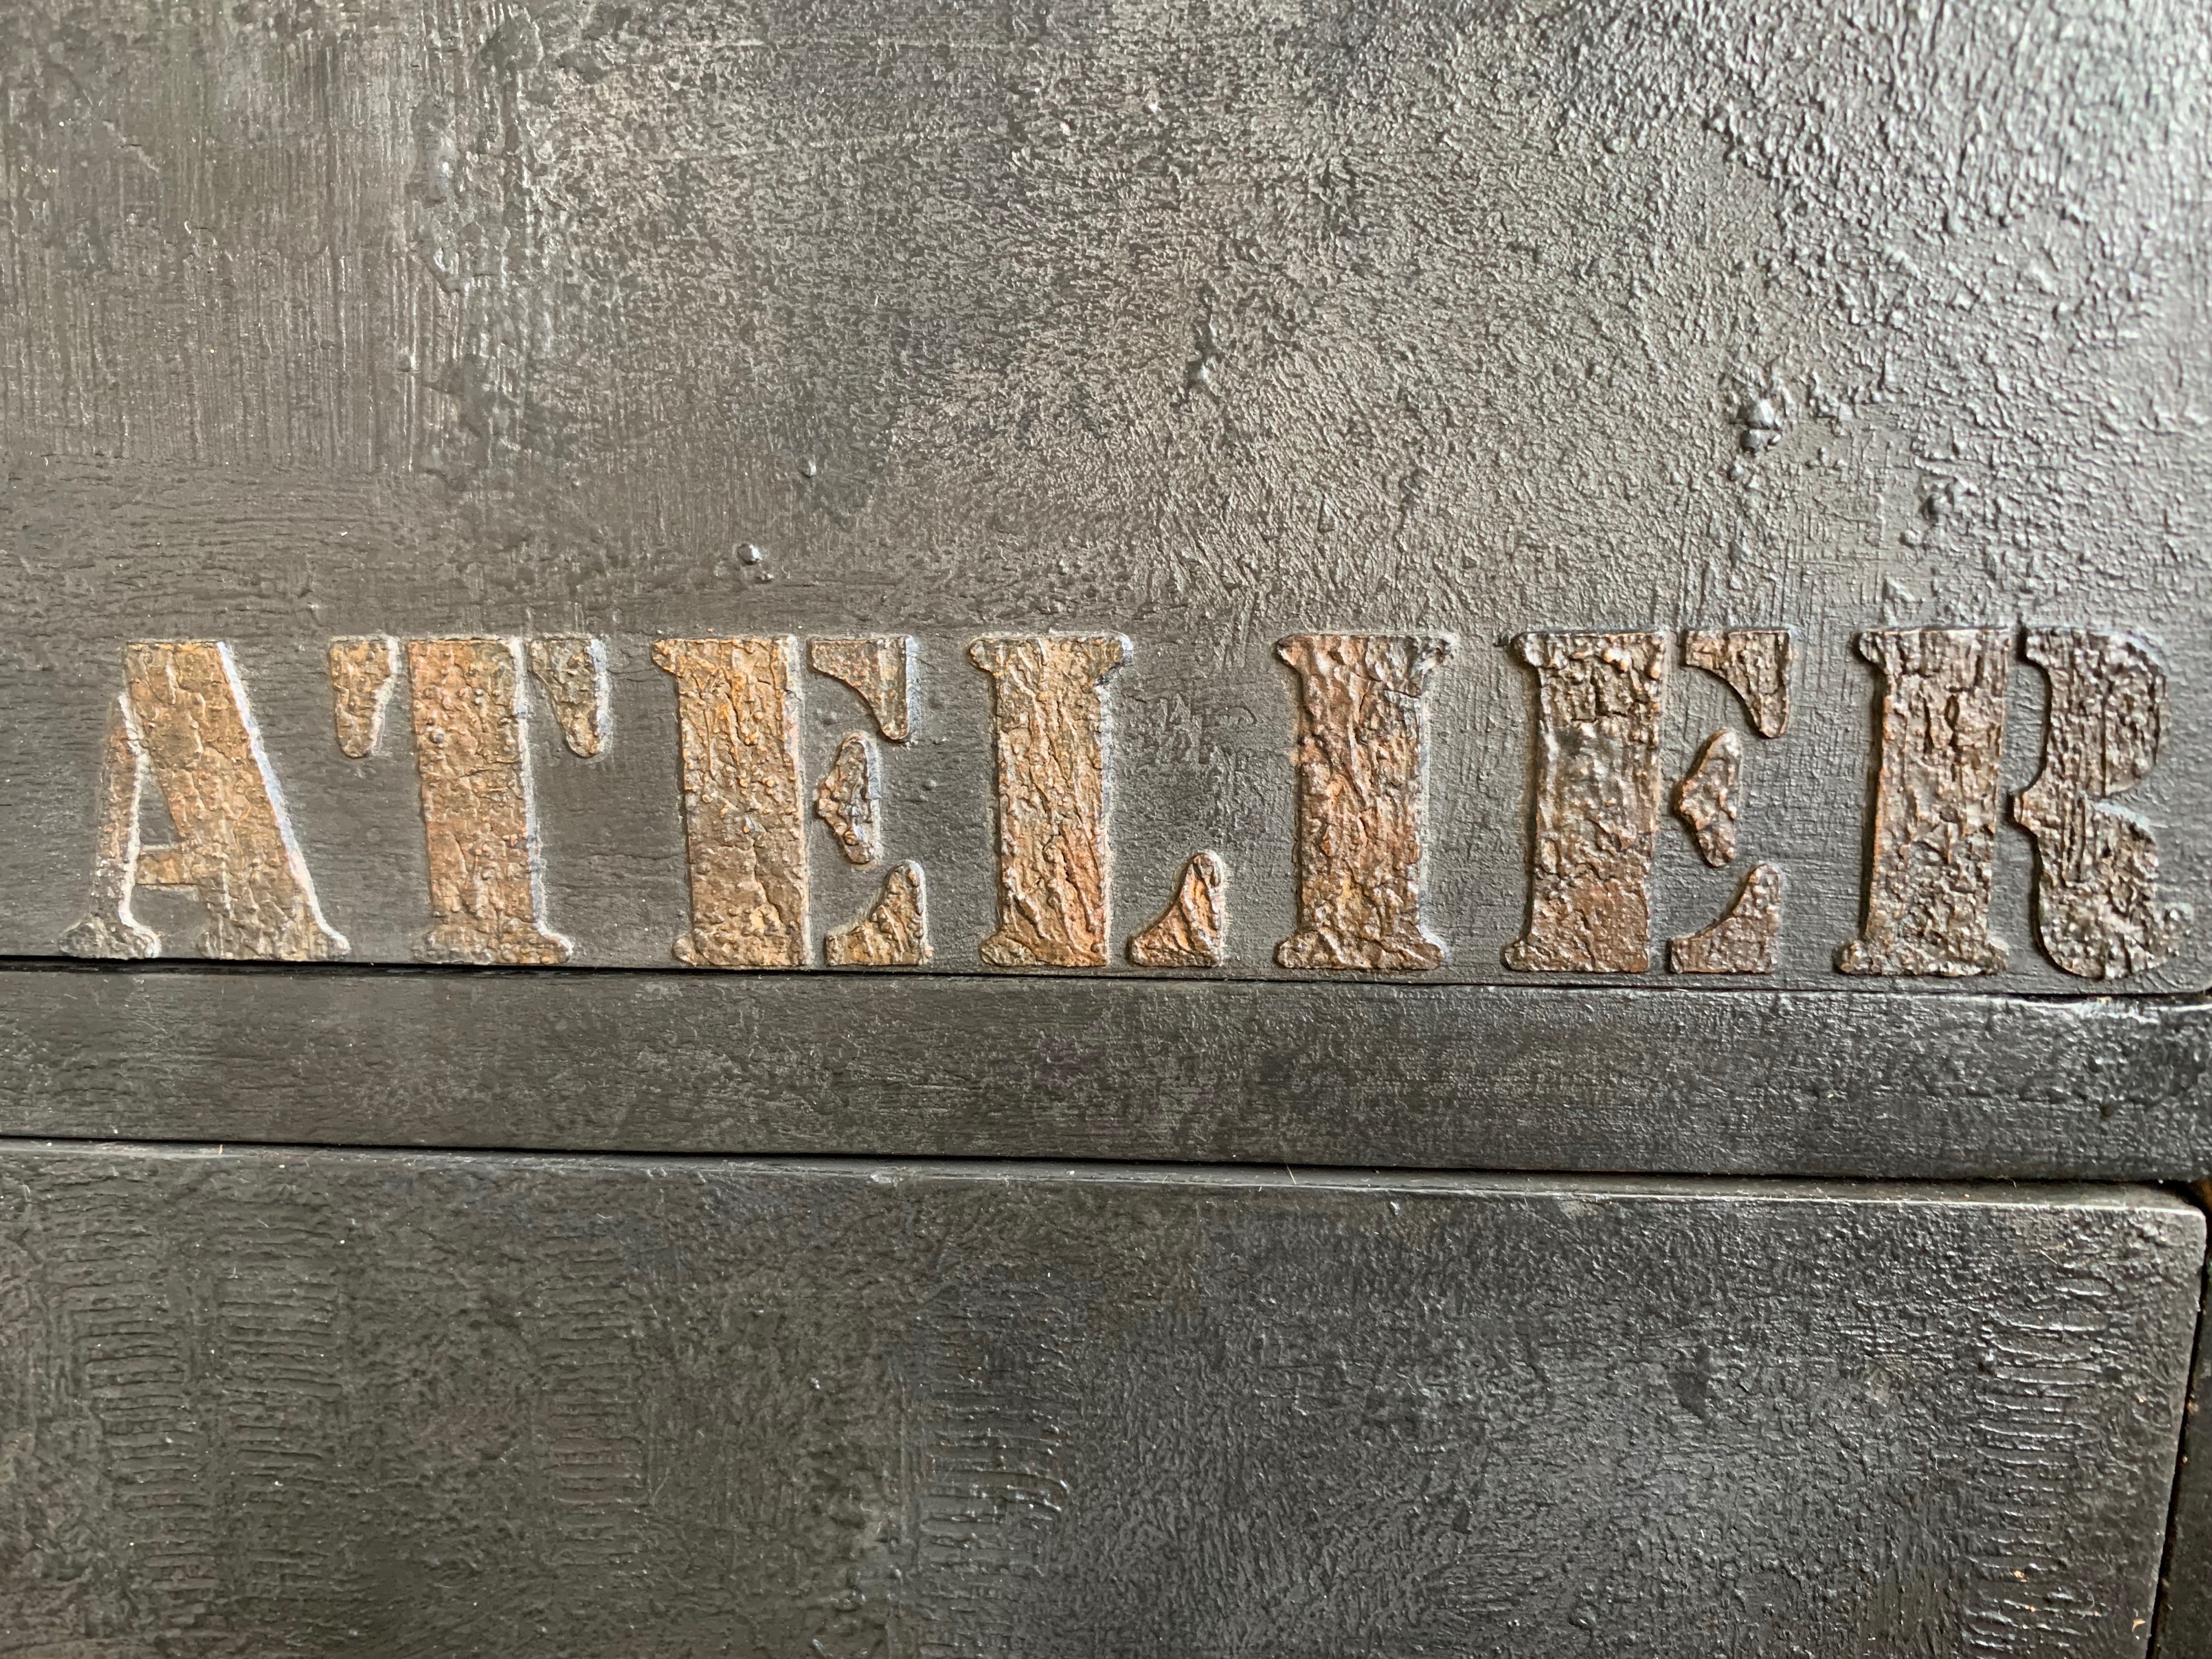
Here’s another example of a high raised stencil I have done a while back. I think I did about 3 or 4 layers with joint compound. Make sure you let each layer dry and clean your stencil immediately after use, let dry before using it again. Give the design a quick light sanding to take off the peaks that might have been created and smooth it. Don’t overdo it because you’ll thinnen the stencil design. The funny thing is whenever someone comes and sees this particular piece they touch the stencil. It’s so detailed and visible, people usually think it’s a mould.
You can then paint everything and play with waxes to make the stencil pop.
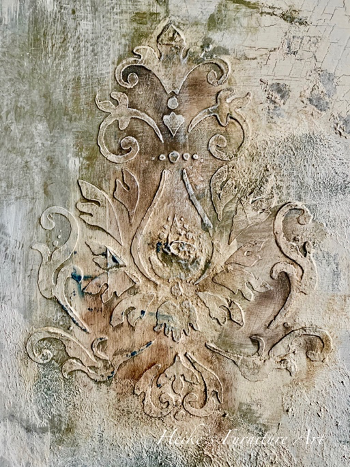
ADVICE: For every raised stencil design
Let dry completely. Sand back any highpoints/ peaks and smooth out with a 220 grid sanding paper. You can now paint your piece and let it dry. Apply darker waxes or gilding waxes or paint to enhance the raised stencil.
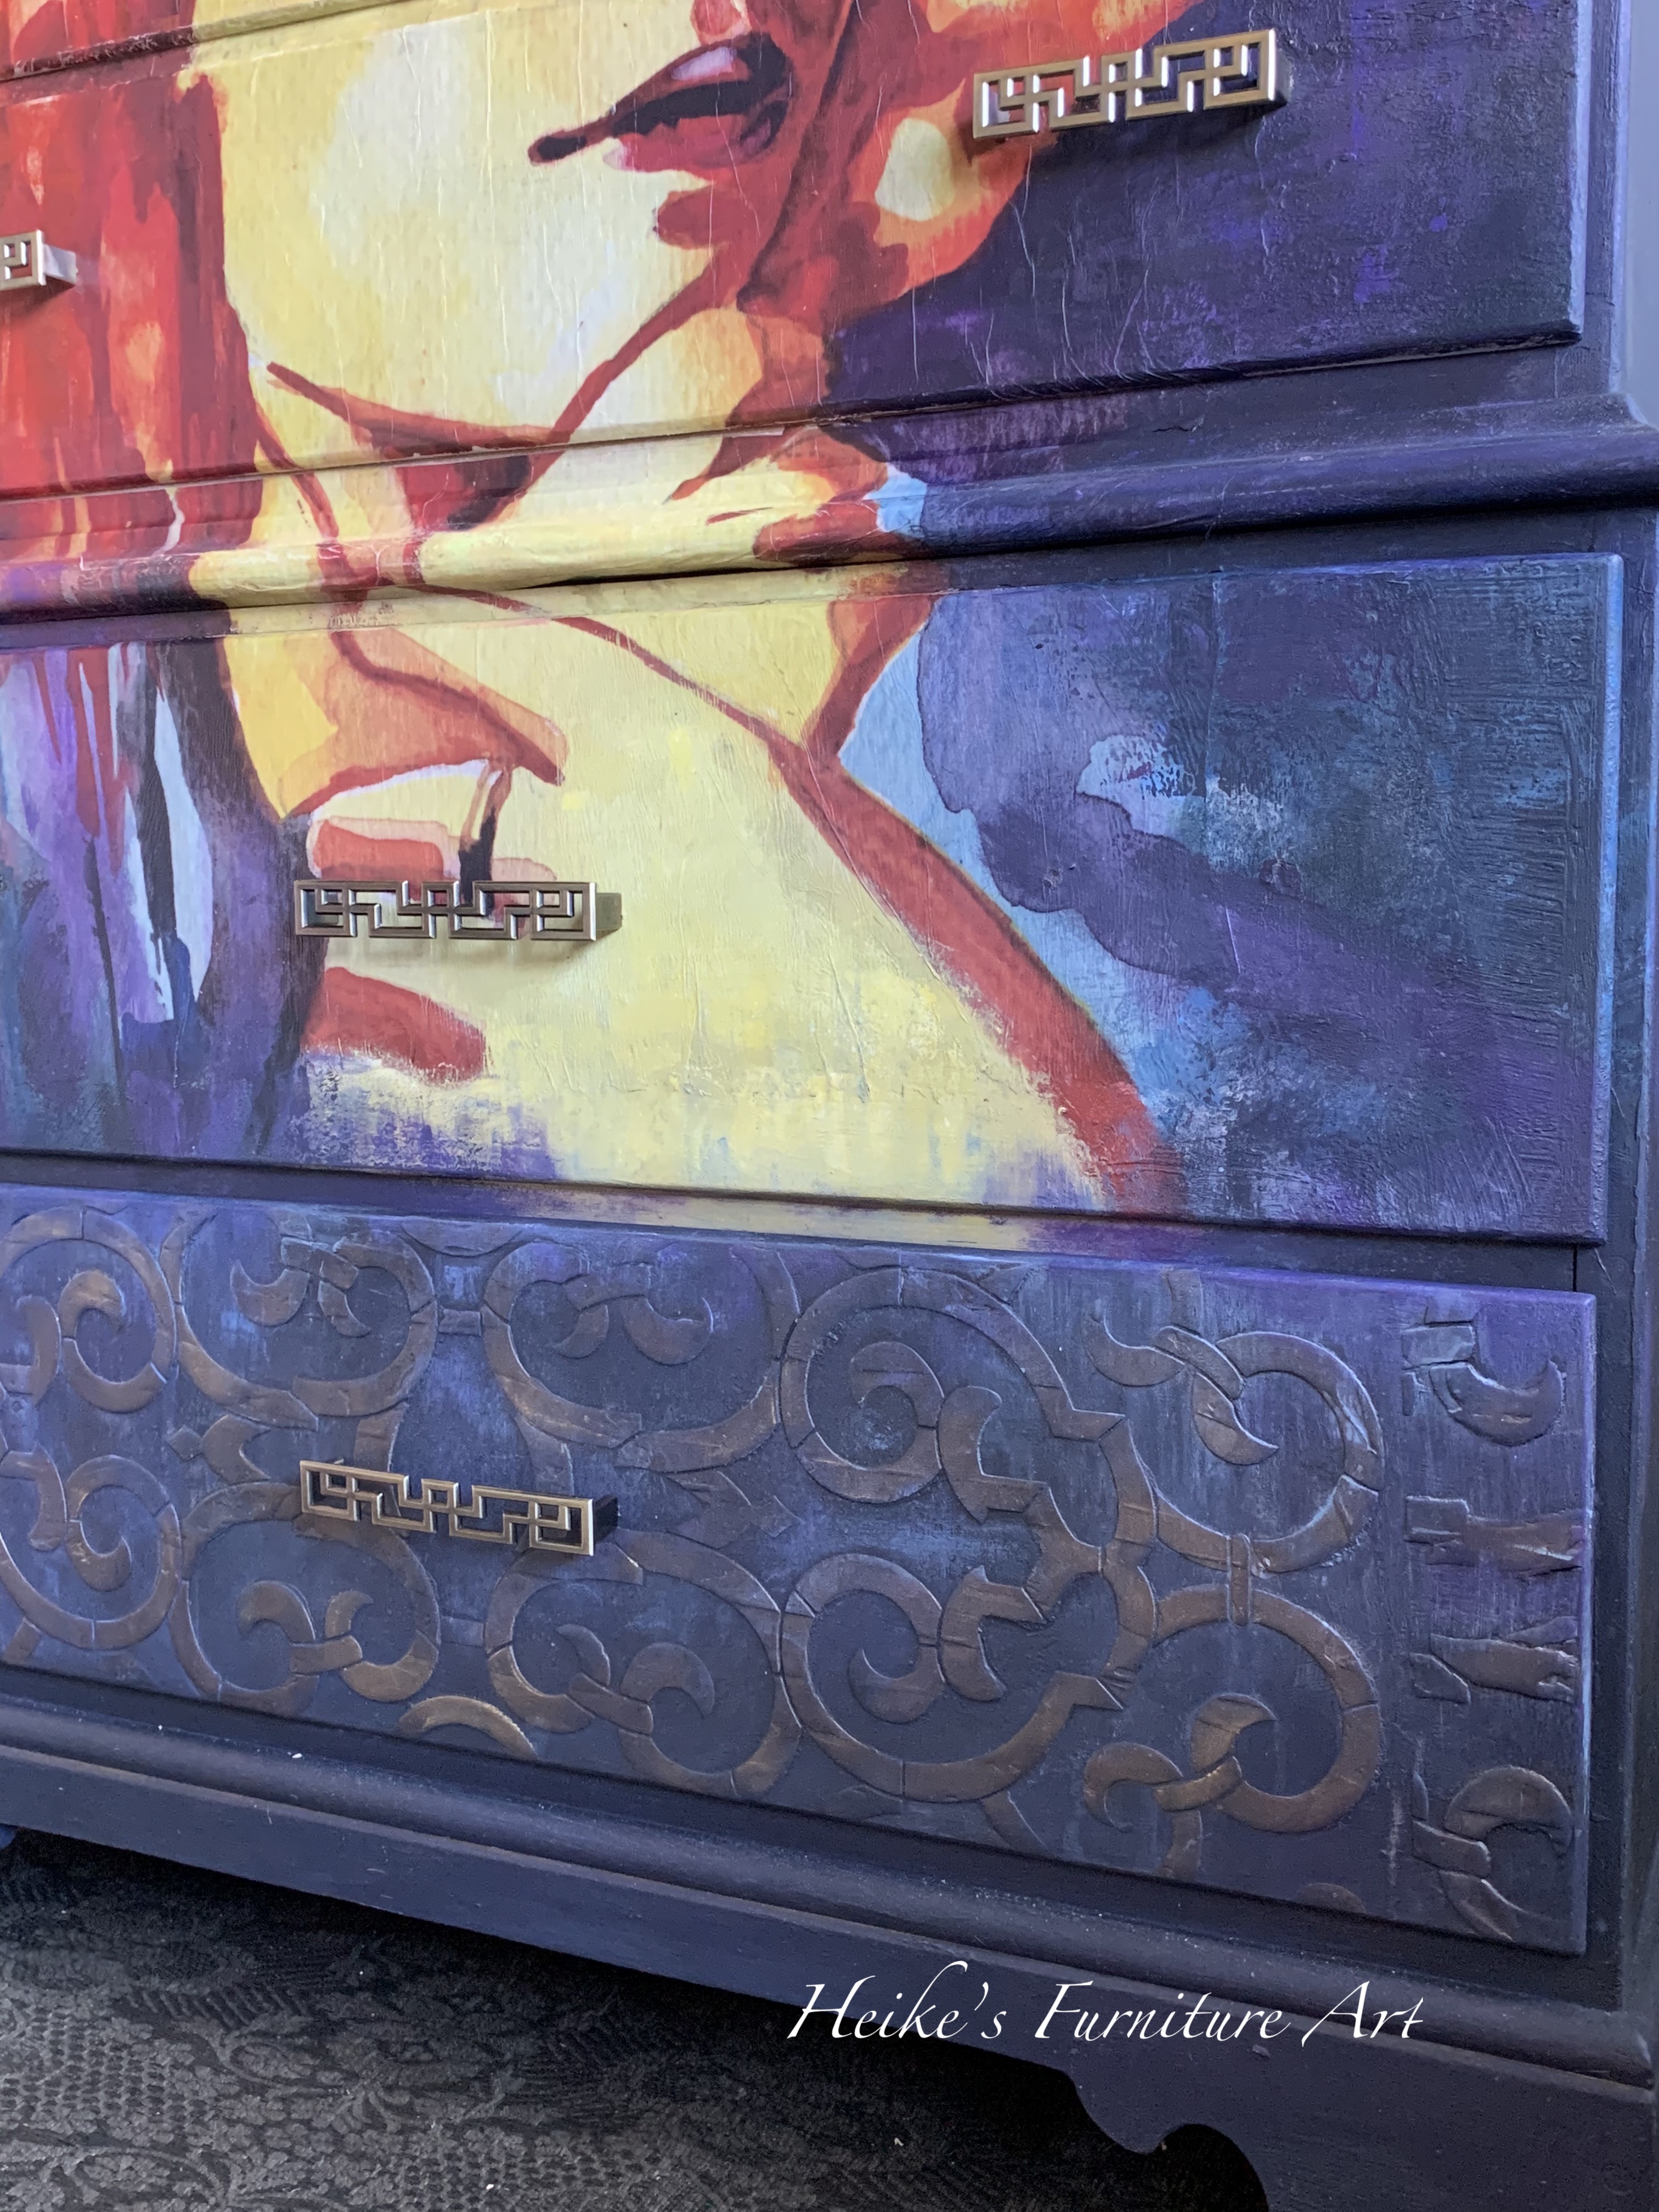
Sometimes no colored wax or creative powder is needed to enhance the finish if you play with paint color layers on top of the stencil like below


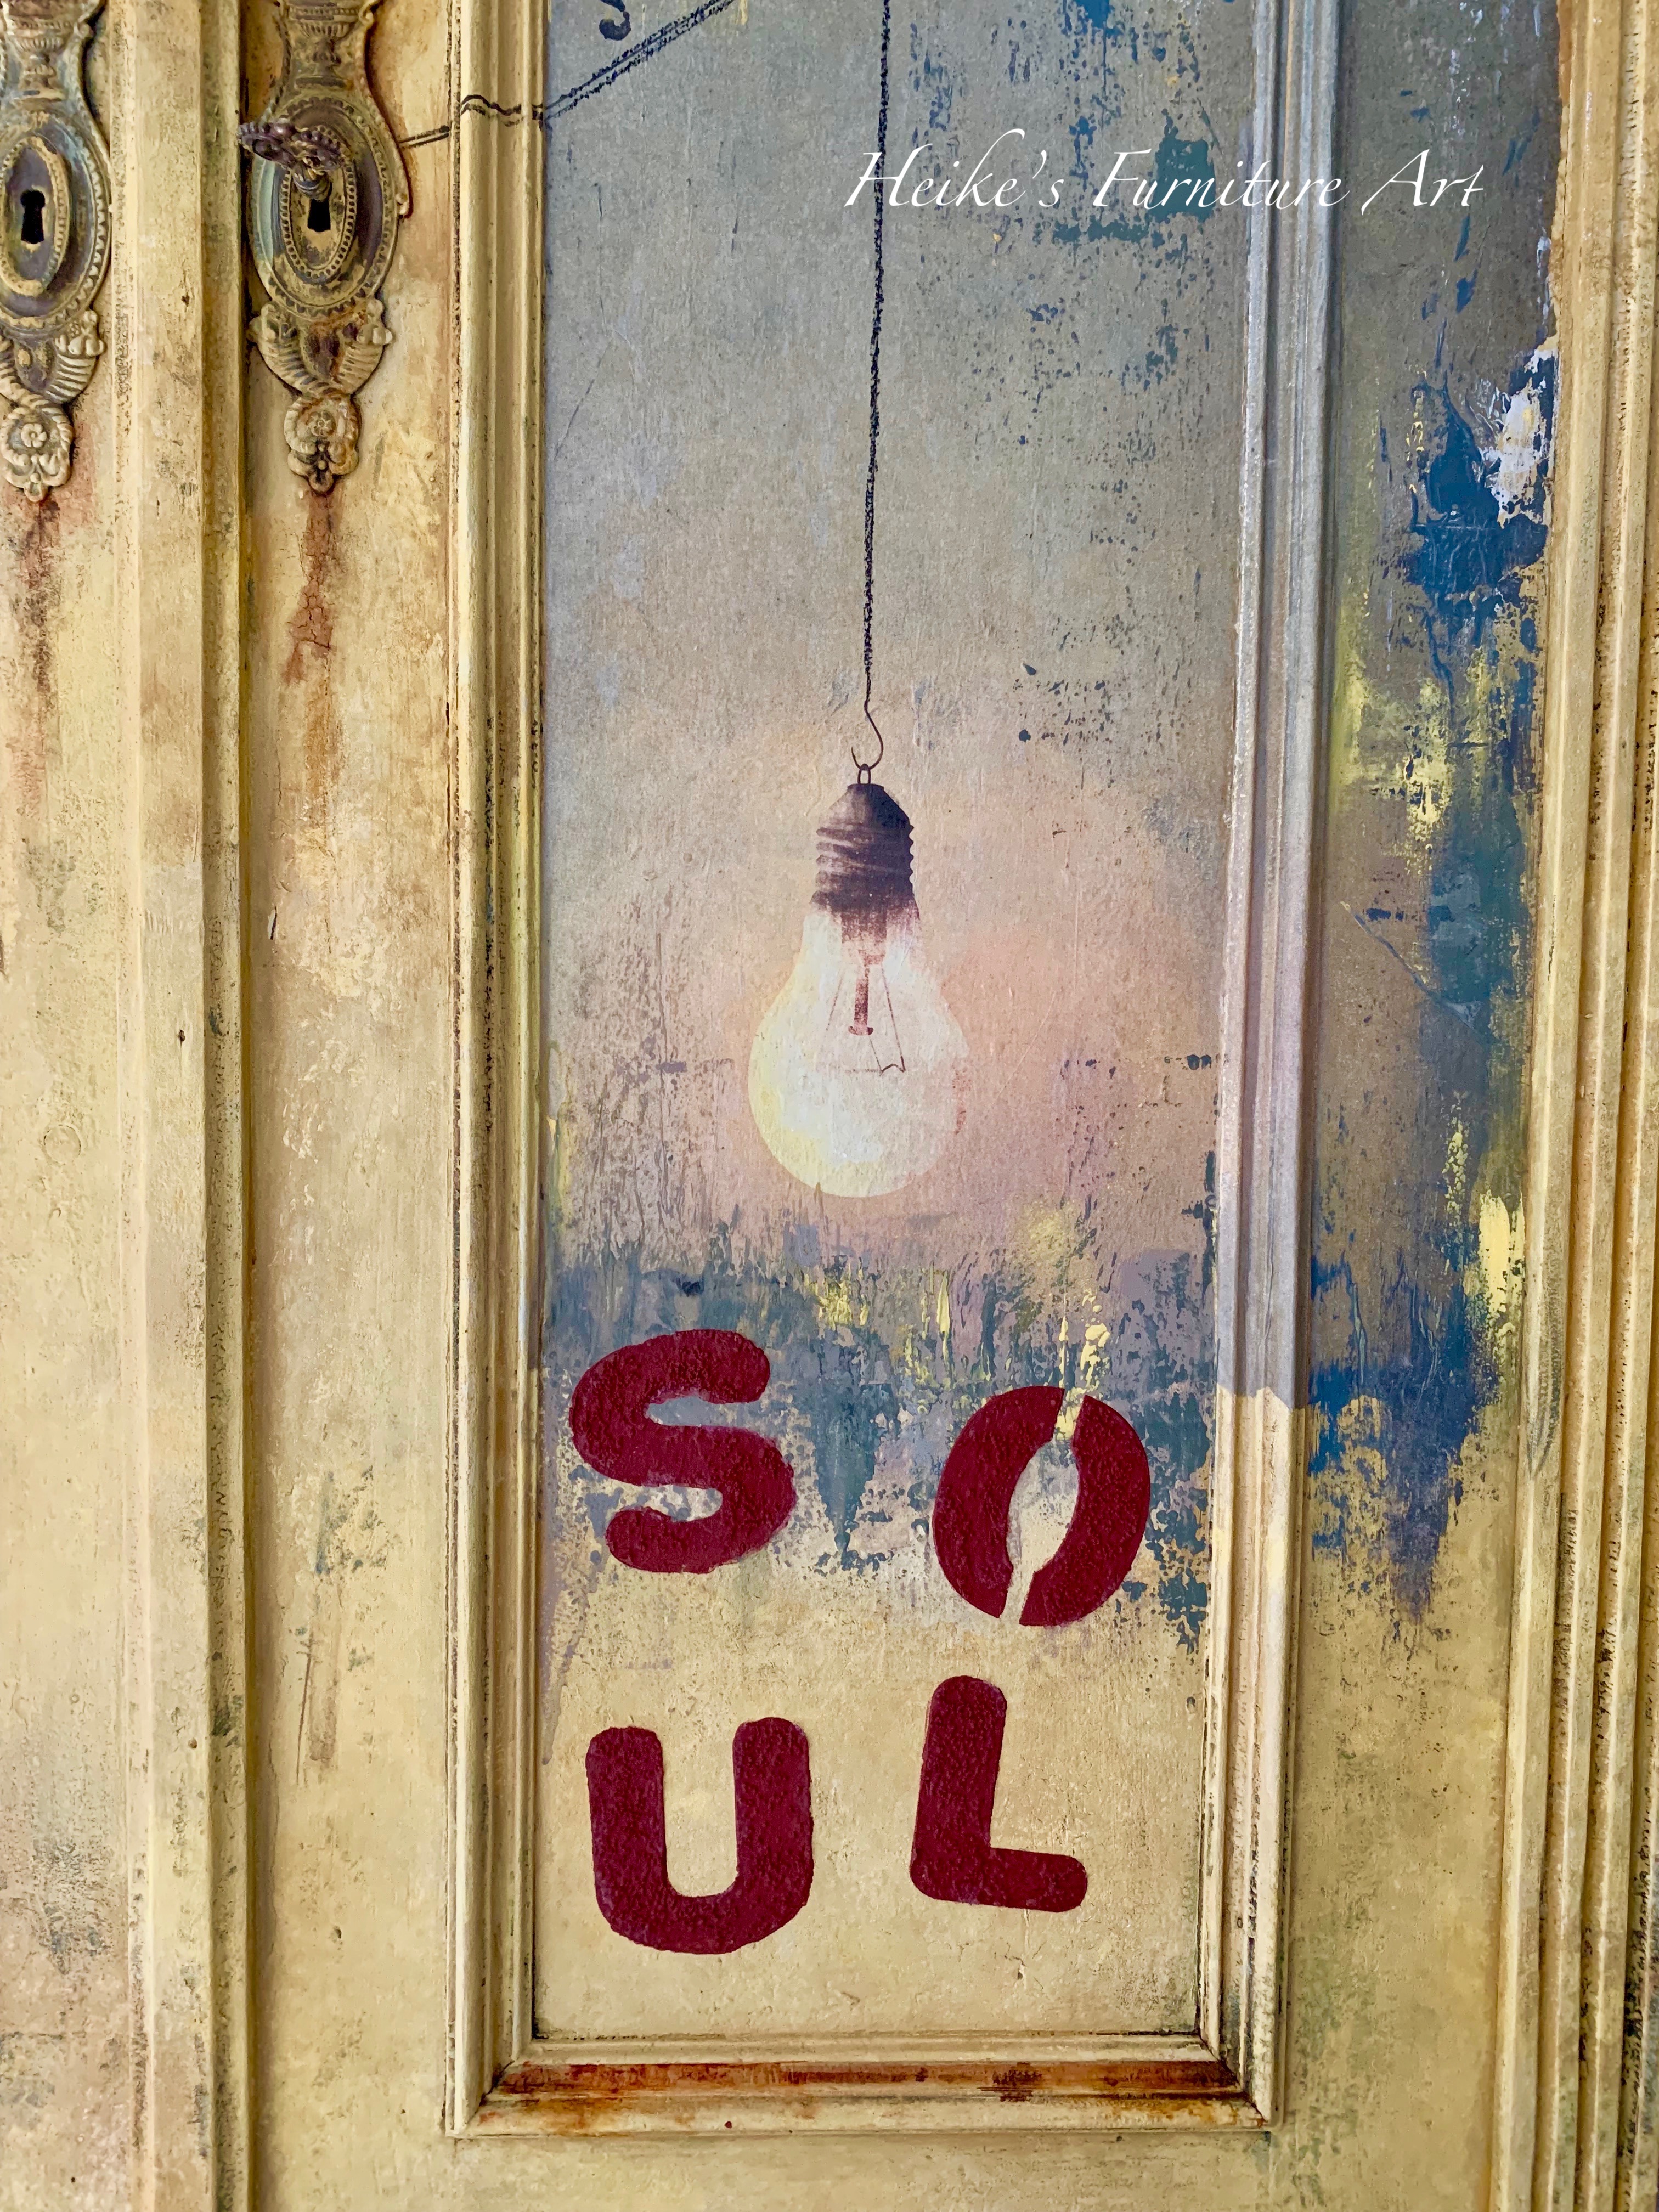
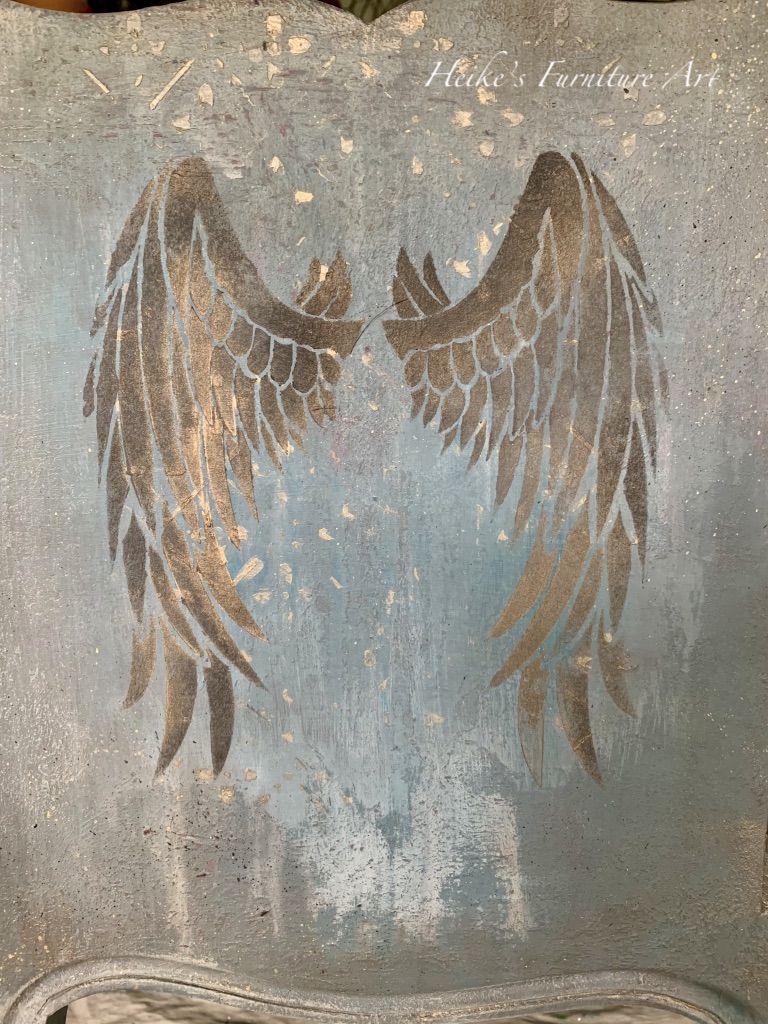
Examples of some of my stenciling


Whether or not you would prefer to use raised or normal or 3D stenciling on your piece is a personal choice. Just remember to have fun end enjoy.
So, to reply to the question in the title “stencil or not to stencil?” Don’t be afraid, just have fun and enjoy.
Happy creating and stenciling
Heike

Oh Heike…thanks so much for this info…. will be saving it for reference…
LikeLiked by 1 person
You are very welcome Maria 🙂 We didn’t have time to see everything about stenciling. So I’m happy if this is helpful. thanks also for your comment here. Appreciate xx
LikeLike
Thank you for sharing your wealth of knowledge!
I love the angel transfer you used – can this be purchased?
LikeLiked by 1 person
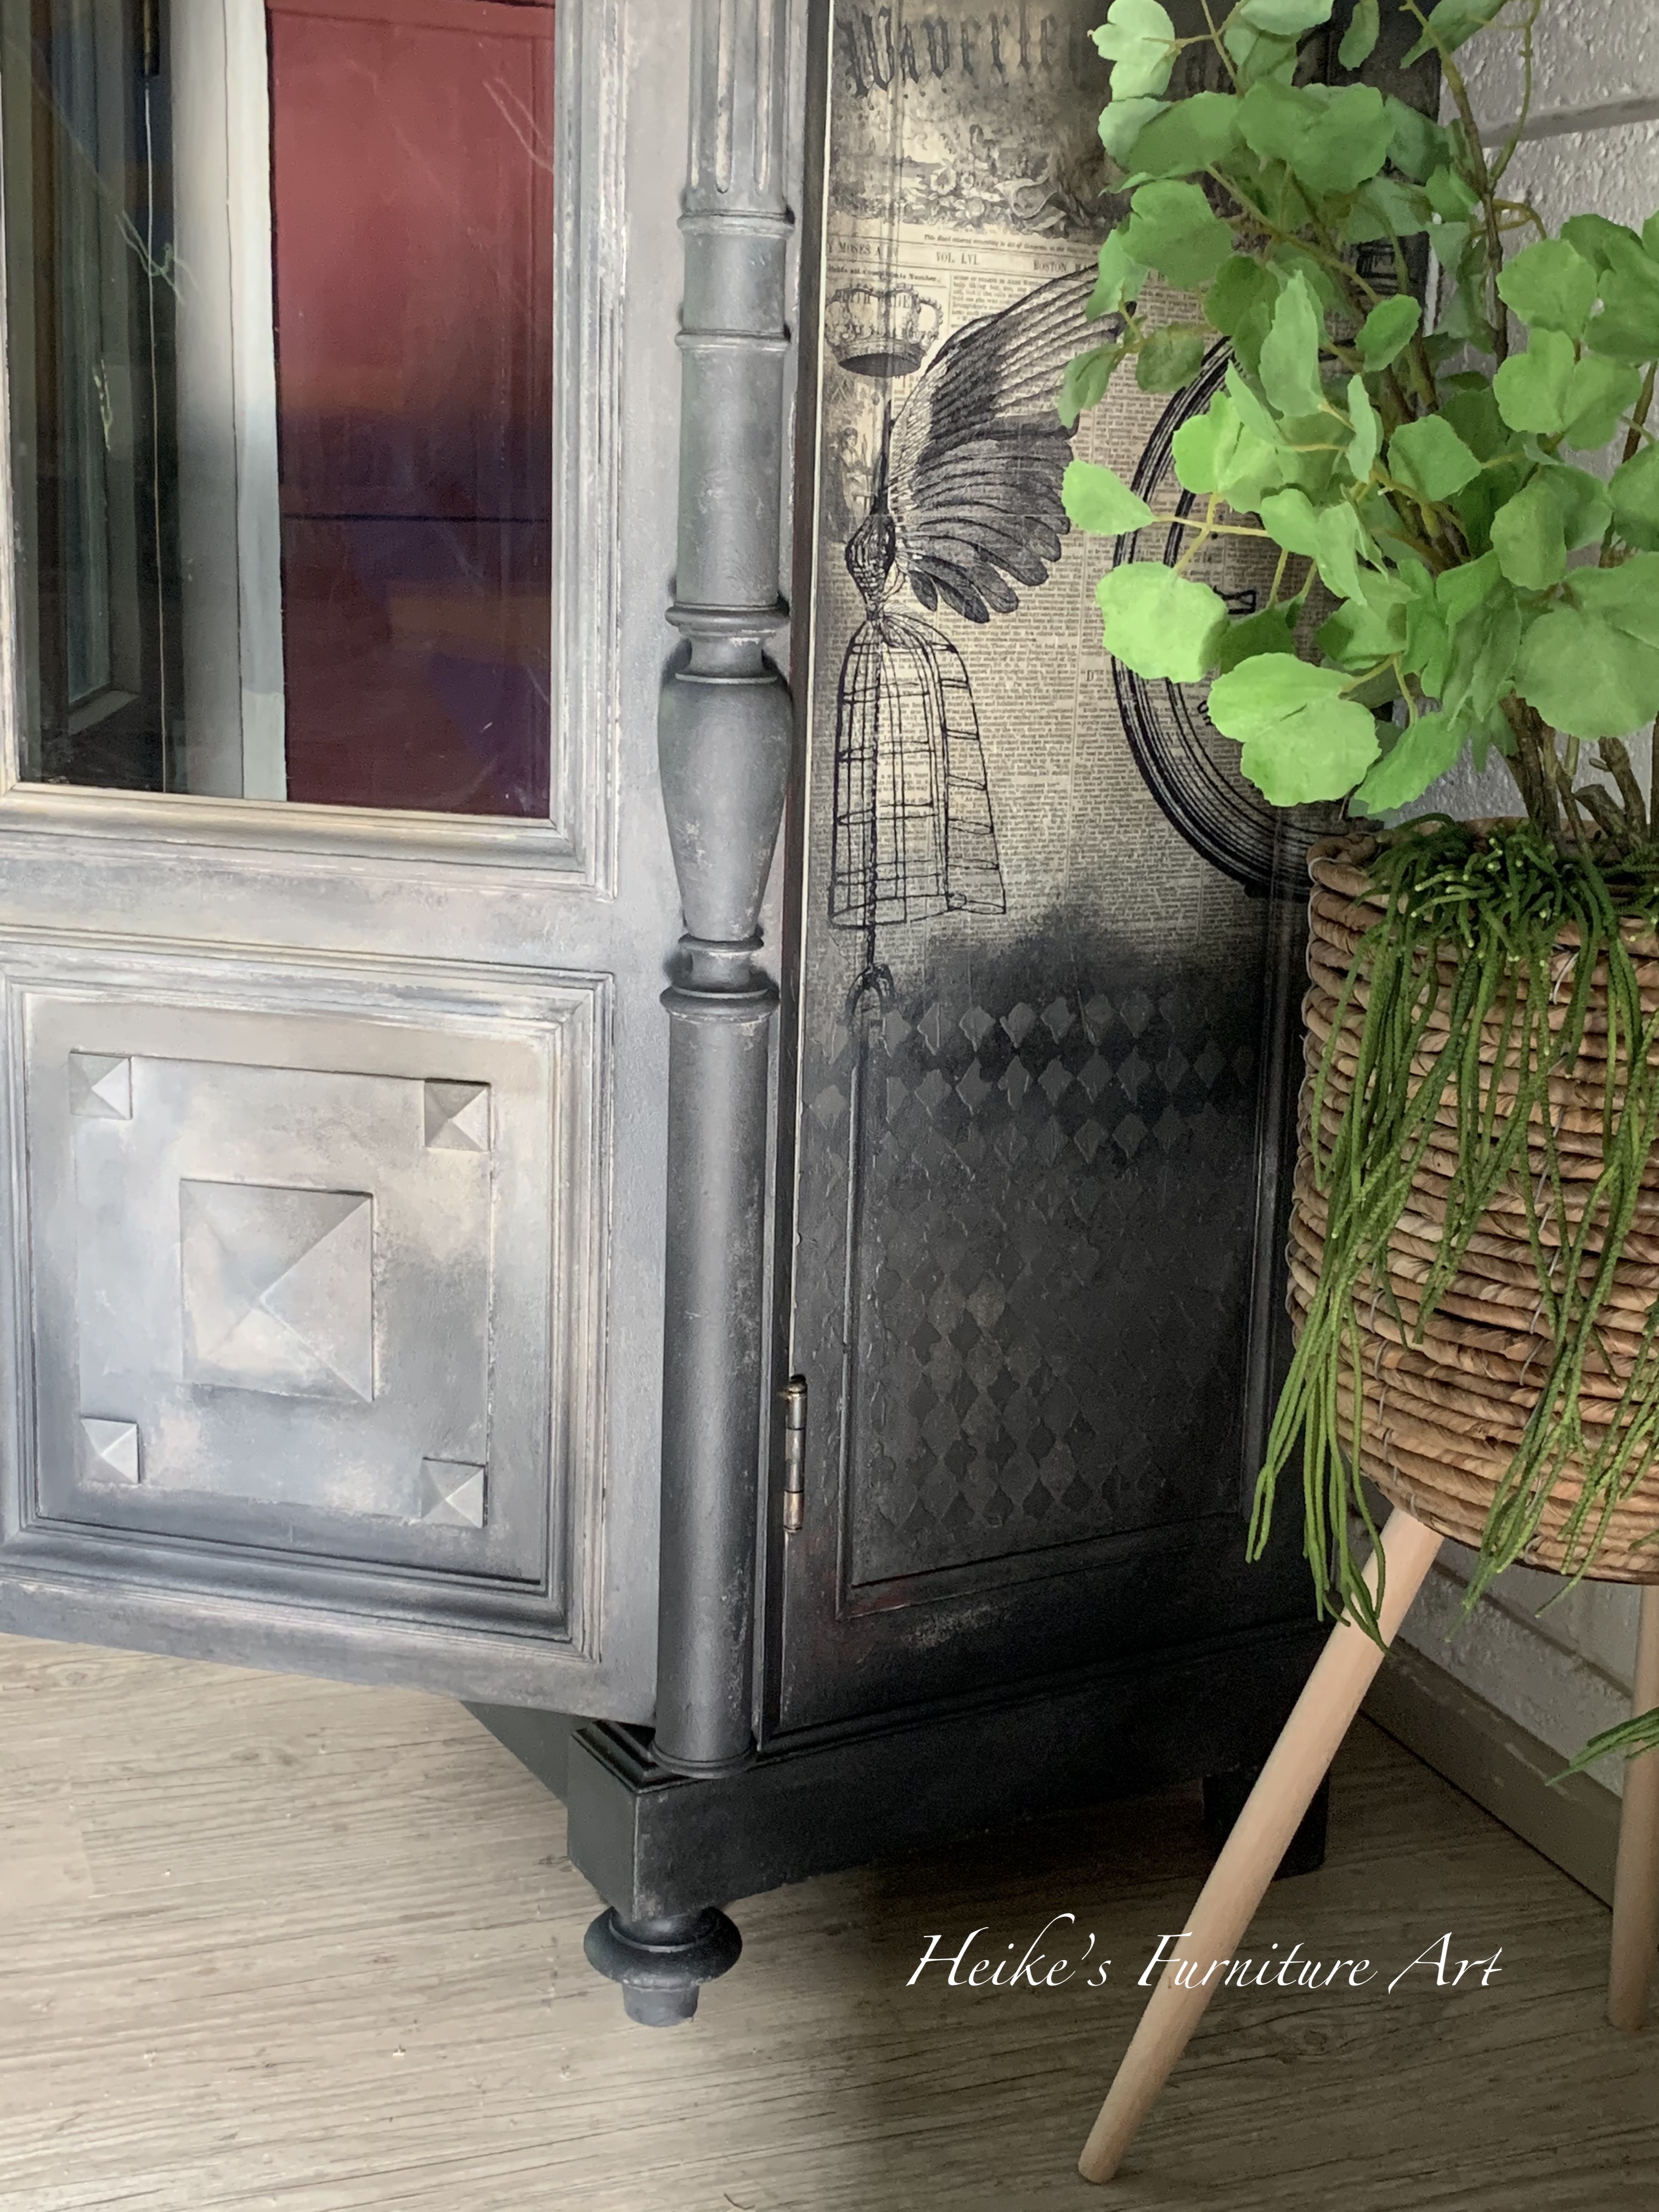
Thank you for your kind feedback Suzy. Do you mean the one on the grey cupboard? This is paper from Roycycled Treasures. You find her on facebook or Instagram 🙂
LikeLike
Thank you Heike .
Love your creations!
LikeLiked by 1 person
Thank you so much for liking what I do Valarie and your kind comment
LikeLike
Thank you for the great information Heike, l will try the adding layers and also sand hint. I love that look!😊💕
LikeLiked by 1 person
You’re very welcome Robyn. And I’m happy if there are helpful tips for you. Let me know how it went when you’ve tried
LikeLike
Such a helpful blog Heike. Thank you!
LikeLike
That’s so kind to say and glad there are a few helpful tips in there. Thank you Deborah!
LikeLike